
15 Mini Dessert Display Ideas That Make Small Bites Look Like a Big Deal
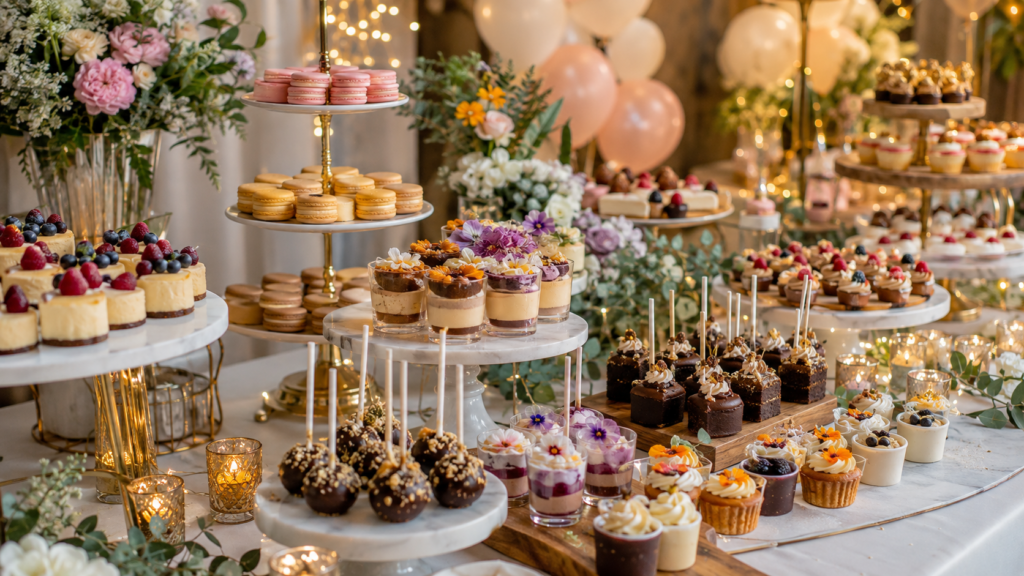
Mini desserts solve a real problem: guests get to try more, portion control happens automatically, and nothing goes stale on a table for hours the way a single sheet cake does. But shrinking the dessert doesn’t shrink the presentation challenge — if anything, tiny treats need more thoughtful staging, because a lonely two-inch tartlet on a huge platter reads as an afterthought instead of a feature.
Here are 15 mini dessert display ideas that solve the “too small to look intentional” problem, organized from simple to more involved, so you can pick something that matches your time, budget, and the size of your event.
1. Tiered Stands for Visual Height
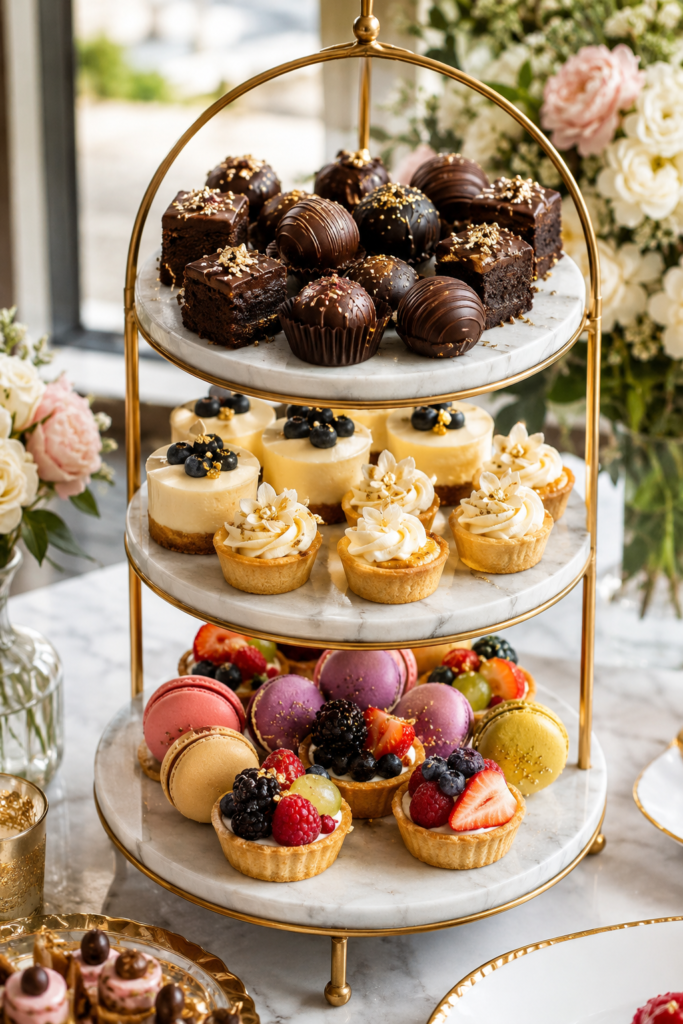
A three-tier stand is still the fastest way to make a dessert table feel abundant without covering much table space. The trick most people miss: don’t put the same dessert on every tier. Alternate colors and textures — chocolate on top, something pale and creamy in the middle, fruit-forward on the bottom — so the eye has somewhere to travel instead of seeing one flat mass of brown.
2. Shot Glasses and Verrines for Layered Desserts
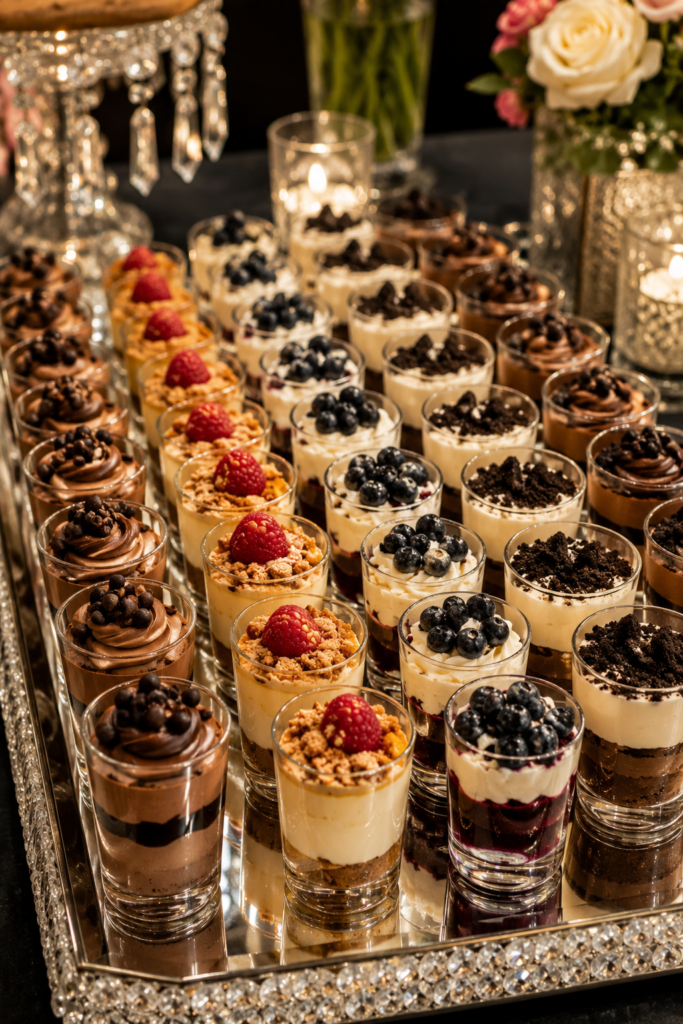
Mini trifles, mousses, and parfaits belong in clear glass. The layers are the display — a verrine of crushed cookie, custard, and berries tells you what you’re eating before you take a bite. Line them up in a grid on a mirrored tray if you want extra shine for evening events; the reflection roughly doubles the visual density without adding any actual dessert.
3. Wooden Boards as a Rustic Base
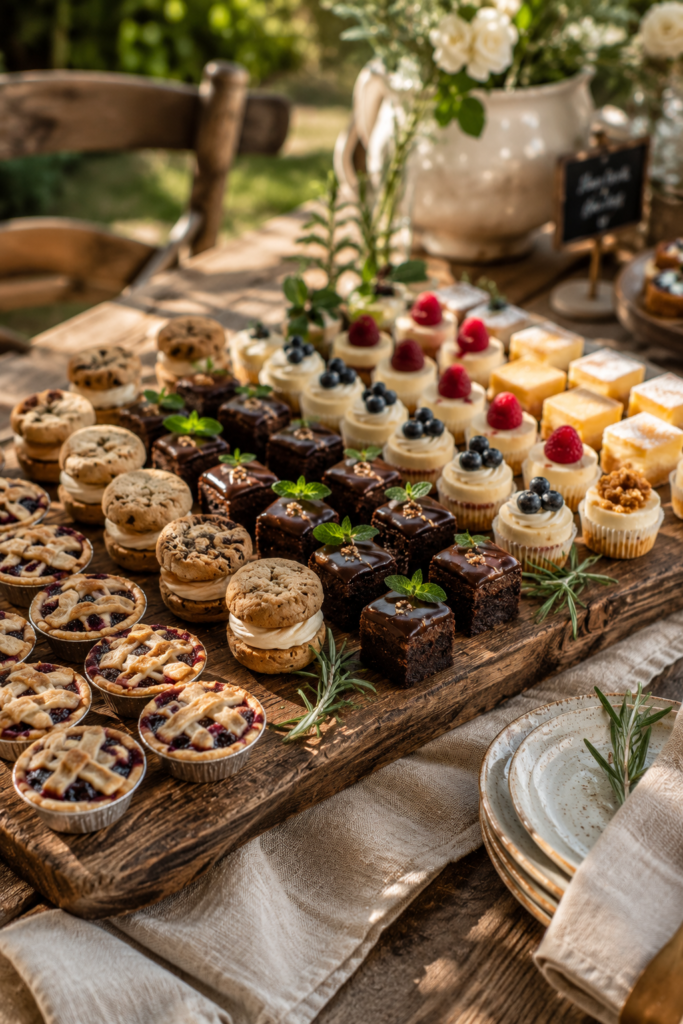
Swap the stand for a plain wood board and you instantly shift the mood from “formal catering” to “someone’s kitchen table.” Cluster mini pies, cookie sandwiches, or brownie bites directly on the wood with a few sprigs of rosemary or mint tucked between them. This works especially well for outdoor, farmhouse, or rustic-themed events where polished glassware feels out of place.
4. Cupcake Towers with Personality
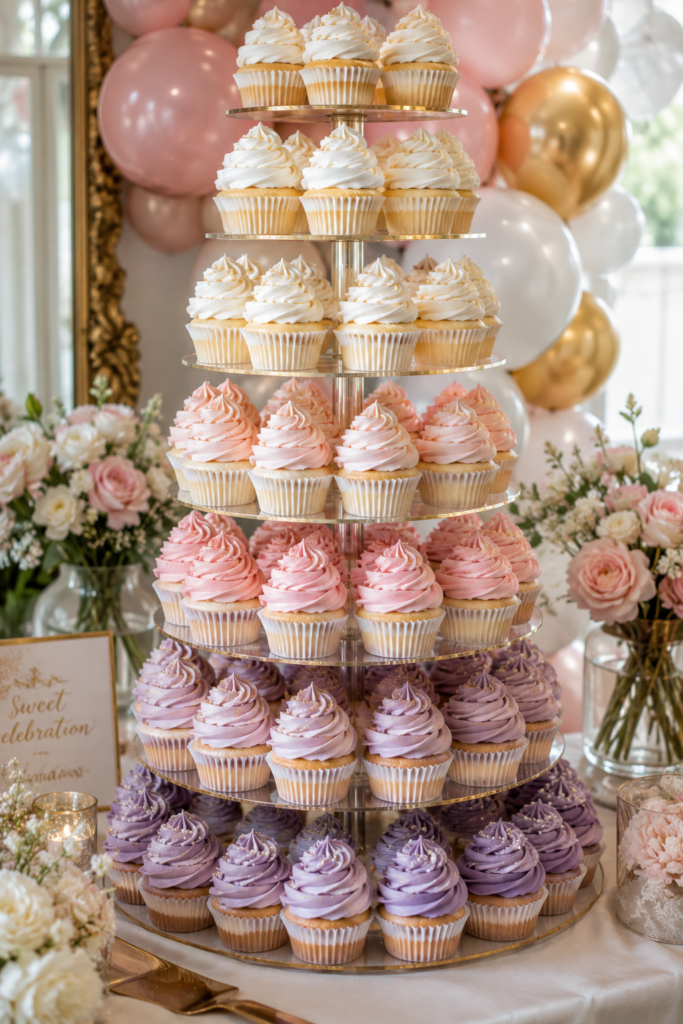
A dedicated cupcake tower earns its keep at birthdays and showers because it does one job extremely well: it makes 40+ identical treats look organized rather than chaotic. Choose a stand with removable tiers so you can adjust the height to the room, and stagger frosting colors by tier rather than randomly — a gradient from light to dark reads as designed, not accidental.
5. Hanging or Suspended Displays
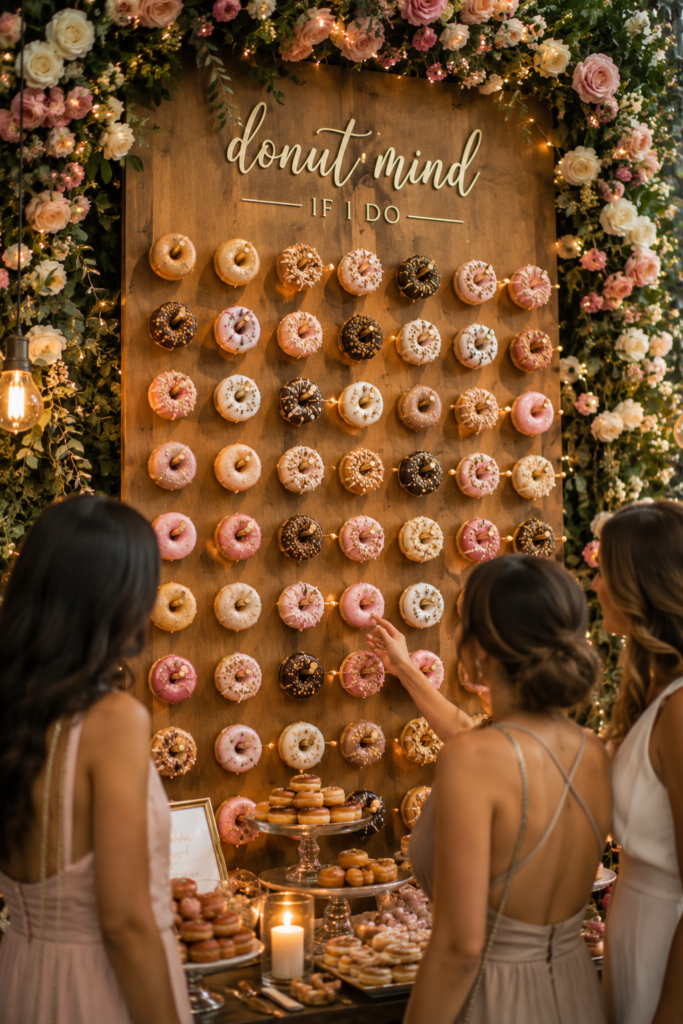
For dessert bars where table space is tight, hanging small treats — think doughnut holes on a wall-mounted pegboard, or a “doughnut wall” scaled down for mini versions — frees up the table entirely and doubles as a photo backdrop. This is more setup work than anything else on this list, but it’s memorable, and guests tend to photograph it, which is free marketing if this is for a business.
6. Individual Cloches for a Reveal Moment
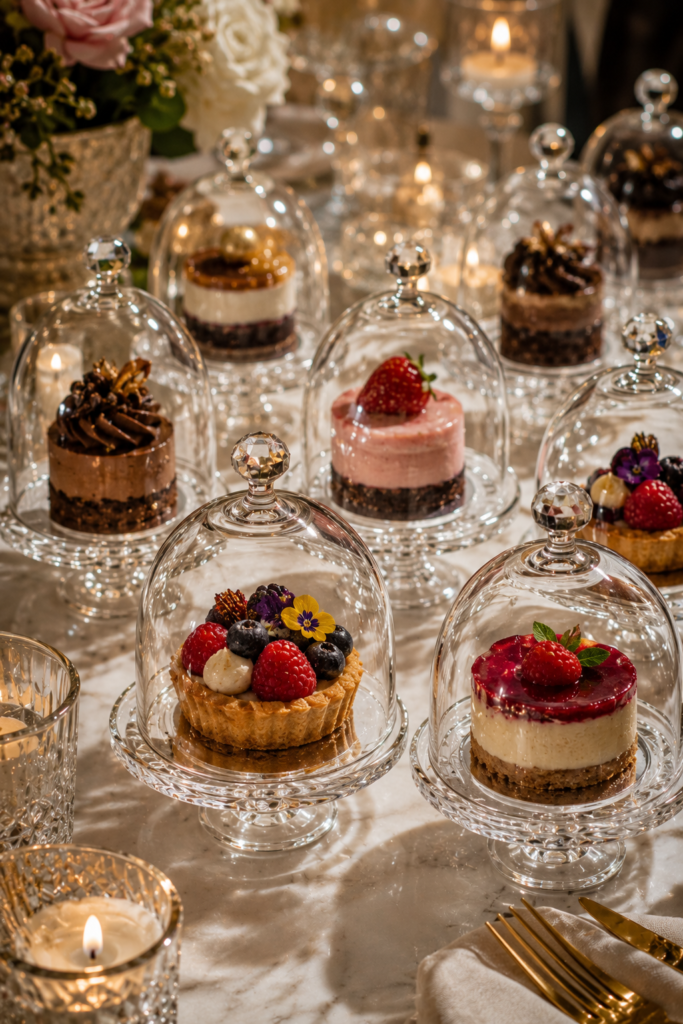
Tiny glass cloches (the small bell-jar covers) turn a single mini dessert into a moment. Lifting the cover is a small piece of theater, and it also keeps flies and dust off treats at outdoor events. Use these sparingly — one or two per guest, not the whole table — since covering everything defeats the “special reveal” effect and just slows down the line.
7. Color-Blocked Grids
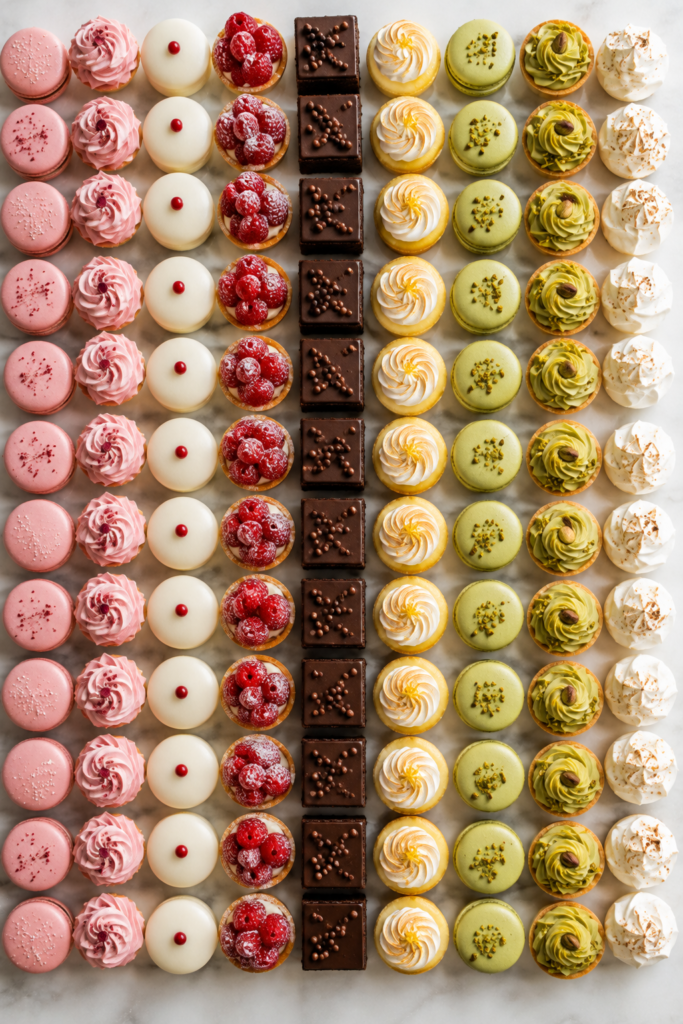
Instead of clustering desserts randomly, lay them out in a strict grid sorted by color: all the pink macarons in one row, all the green ones in the next. This is the single easiest way to make a huge dessert spread look curated instead of thrown together, and it takes zero extra equipment — just patience while plating.
8. Edible Flower Garnish for Instant Polish
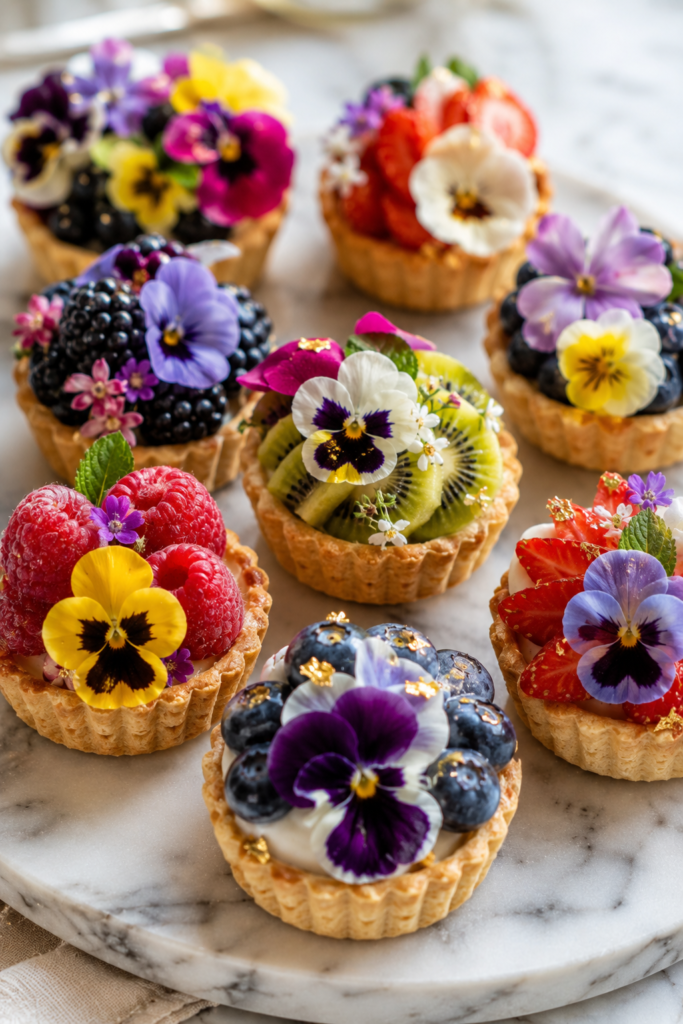
A single edible flower petal (pansy, viola, or nasturtium) on top of a mini tart or cupcake changes how expensive the whole spread looks, disproportionate to the effort involved. Buy them pre-cleaned from a specialty grocer or farmers market rather than picking your own, since not all flowers are food-safe and cross-contamination from pesticide-treated garden flowers is a real risk.
9. Rimmed Trays with a Contrasting Liner
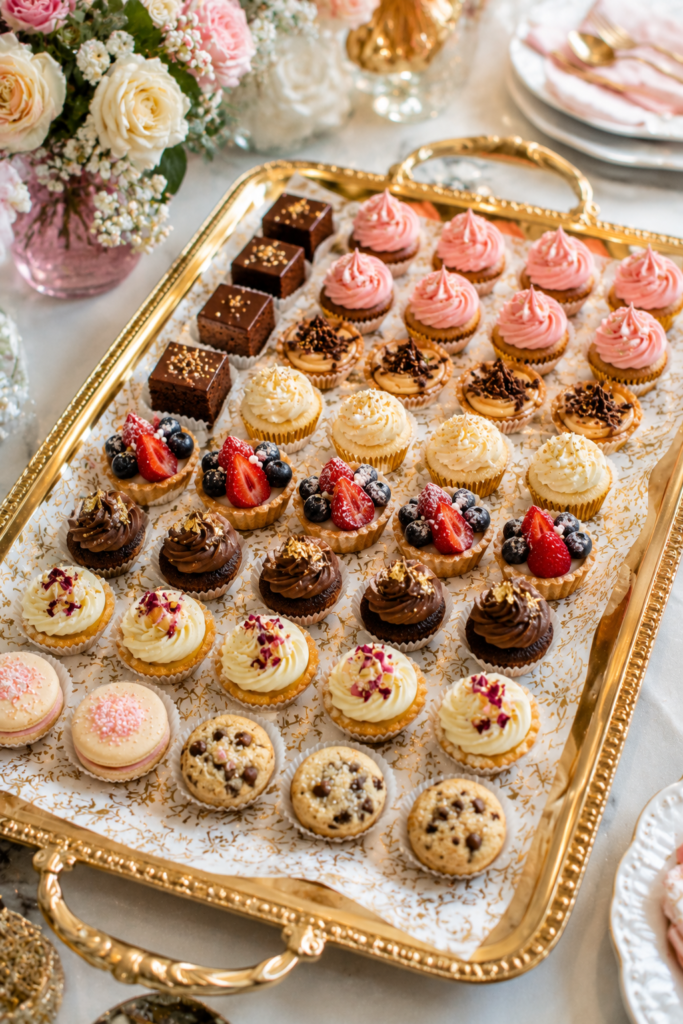
Line a plain metal or wood tray with parchment, patterned paper, or a colored cloth before arranging desserts. The liner does two jobs: it keeps grease and crumbs off the tray itself, and it gives you an easy way to match the display to a color scheme without buying new stands every time.
10. Dessert “Charcuterie” Boards
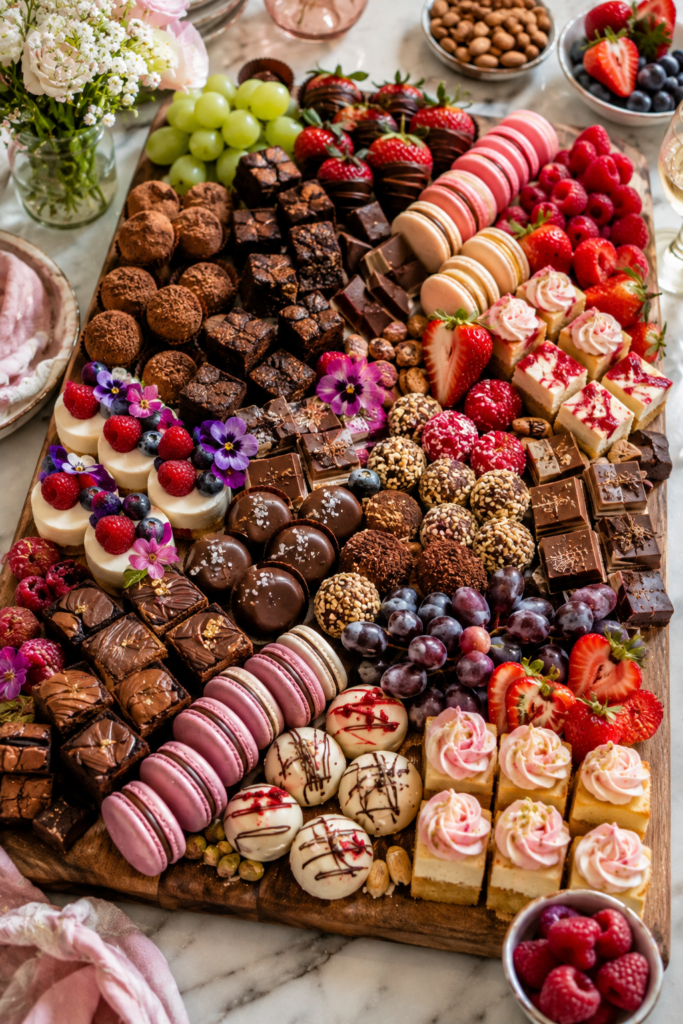
Borrow the charcuterie board format — a large flat board with small clusters of different items, filled in with fresh fruit, nuts, and chocolate pieces to close visual gaps. This is one of the most efficient formats for variety: you can fit 8–10 different mini desserts on one board without any of them needing their own stand or plate.
11. Numbered or Labeled Displays
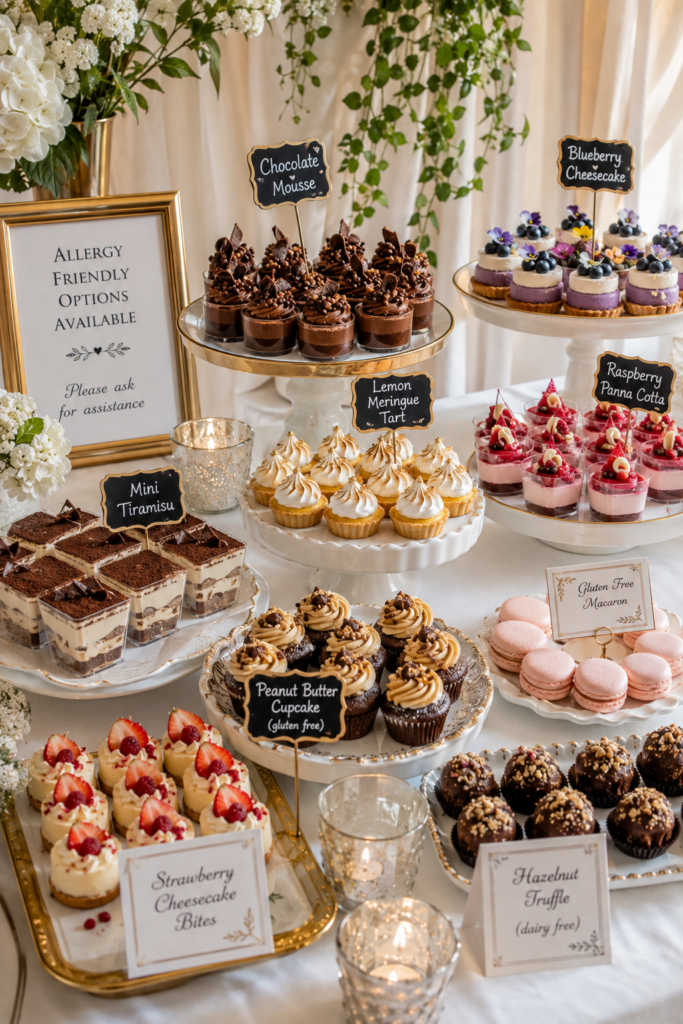
Small chalkboard signs or printed tent cards naming each dessert do more work than people expect, especially for guests with allergies or dietary preferences. “Flourless chocolate bite,” “vegan lemon tart,” “contains nuts” — a few words prevent awkward questions and let people self-select with confidence.
12. Vertical Ladder or Crate Stands
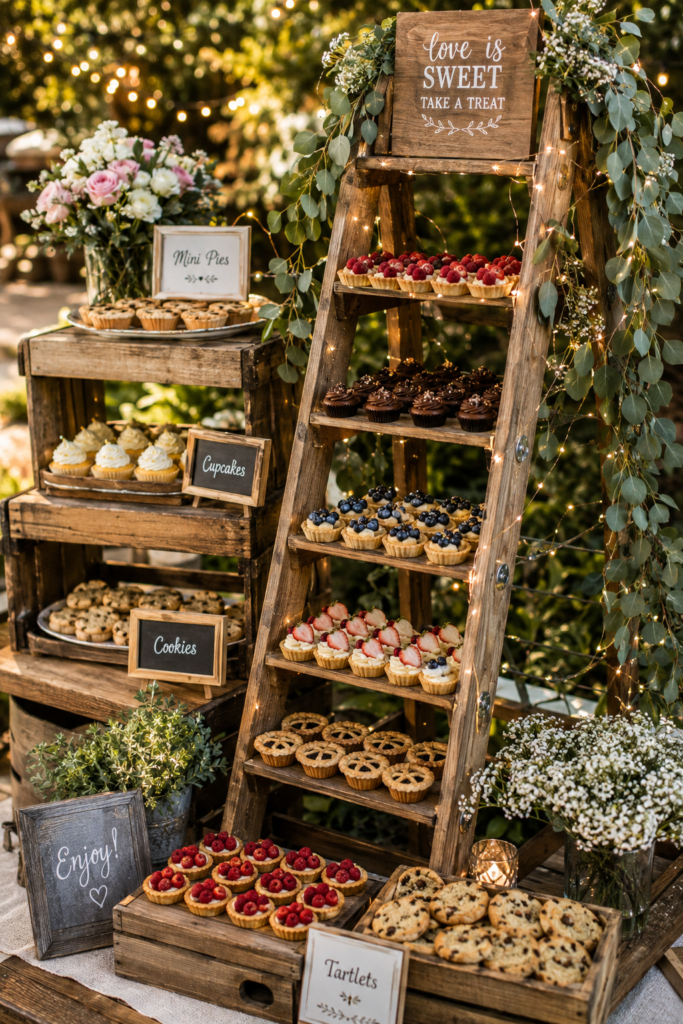
A small wooden ladder laid at an angle, or stacked wire crates, creates multiple display levels without the formality of a traditional tiered stand. This suits rustic, industrial, or garden-party themes and is easy to source secondhand or repurpose from other decor.
13. Monochrome Palettes for Cohesion
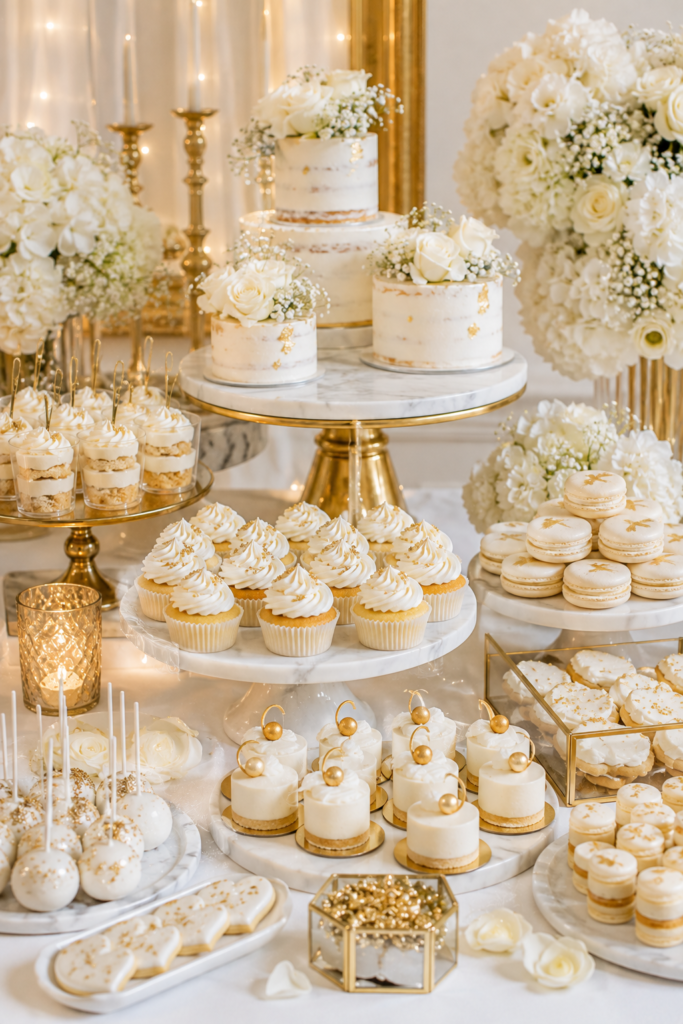
When desserts vary wildly in shape (a macaron next to a brownie next to a mini pie), color is what ties them together visually. Committing to a single palette — all white and gold, or all pastel — makes a mismatched dessert lineup look intentional rather than like leftovers from three different bakeries.
14. Mirror Bases for Evening or Formal Events
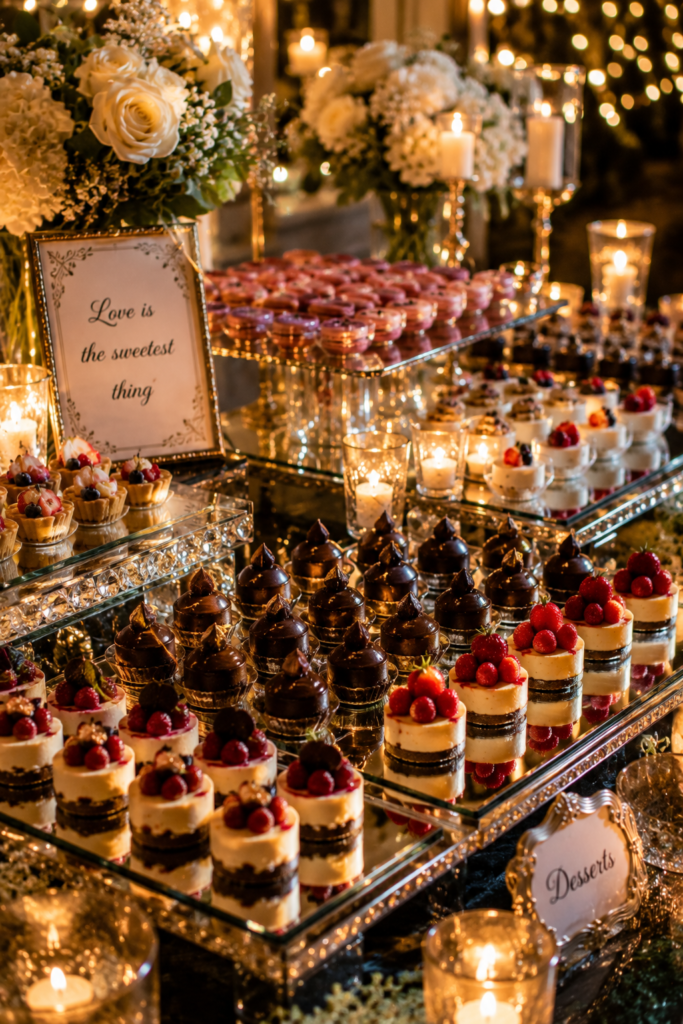
A mirrored tray or a few mirror tiles under a cluster of desserts catches candlelight and string lights in a way a matte surface can’t. It’s a small addition but it noticeably changes the mood of a table after dark, and it costs very little compared to renting additional stands.
15. DIY Dessert Bars with Assembly Stations
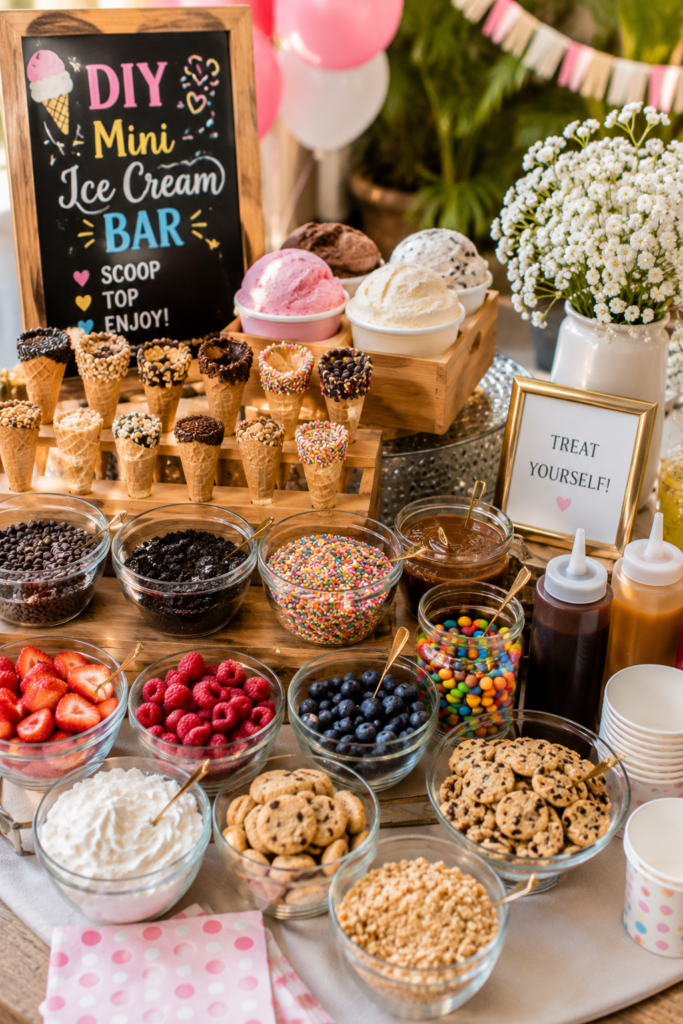
Instead of pre-plating everything, set up a small assembly station — mini cones with a scoop station, or plain cookies with a bowl of toppings — so guests build their own. This adds an interactive element, spreads out the line so it doesn’t bottleneck at one table, and gives guests a reason to linger near the dessert area rather than grab-and-go.
Putting It Together
You don’t need all 15 ideas for one event. A good rule of thumb: pick one structural element (a stand, board, or tiered display), one textural element (glass, wood, or metal), and one finishing touch (a garnish, liner, or label). That combination alone will make a mini dessert table look considered rather than assembled at the last minute — and it scales from a dozen cupcakes at a birthday party to a few hundred bites at a wedding.
Frequently Asked Questions
How many mini desserts should I plan per guest? A common planning range is 2–4 mini pieces per guest if dessert is one option among several, or 4–6 pieces per guest if it’s the main event (a dedicated dessert table or bar).
What’s the cheapest way to elevate a mini dessert display? A contrasting liner under the desserts and a consistent color palette across items cost almost nothing and make the biggest visible difference relative to effort.
Do mini desserts need refrigeration during display? Anything with dairy-based frosting, custard, or cream filling should be limited to about two hours at room temperature before quality and food safety start to decline; plan ice packs or a chilled display surface for longer events.
Can I mix store-bought and homemade mini desserts on the same table? Yes — consistent presentation (same stands, same garnish style, same labeling) does more to unify a table than whether every item was made from scratch.