
Churro Cheesecake Bars: The Recipe That Turns a Basic Potluck Into “Who Made These?”
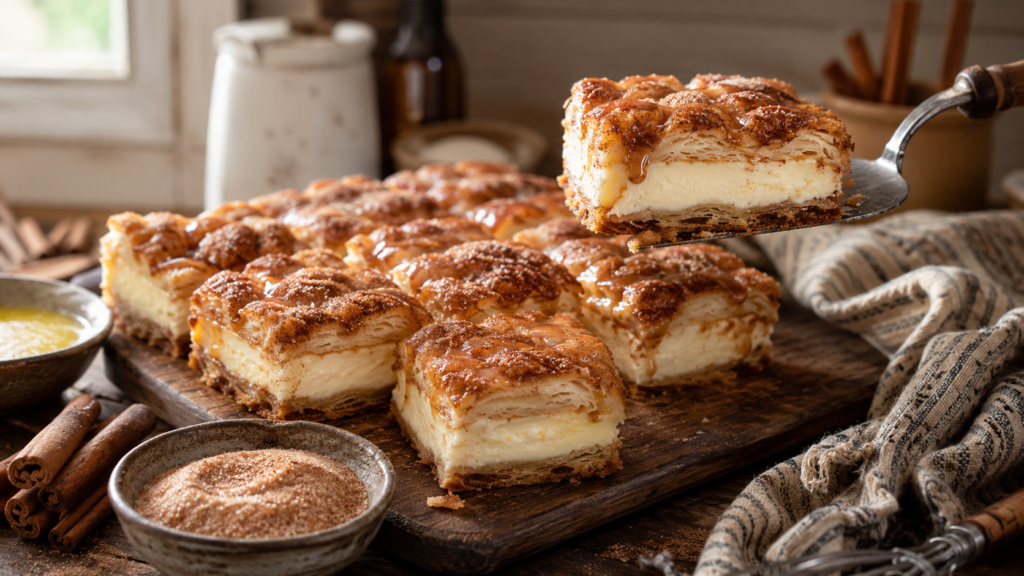
Three years ago I brought a pan of these to a Fourth of July cookout, and by the time I got back from the drink cooler, half the pan was gone and someone was already asking for the recipe on their phone. That’s the moment I knew this dessert wasn’t just good it was the kind of good that makes people put their fork down and look for the person who brought it.
Churro cheesecake bars solve a real problem: you want the crunchy, cinnamon-sugar satisfaction of a churro, but you also want the creamy, tangy payoff of a cheesecake, and you don’t want to fry anything or mess with pastry dough. This recipe gets you both in one pan, with about 20 minutes of active work.
Here’s what you’ll actually get from this guide: a tested, ratio-correct recipe; the specific mistakes that turn this dessert into a soggy mess (I’ve made most of them); ingredient swaps for dietary needs; make-ahead and storage guidance; and answers to the questions people actually ask when they search for this recipe. What you won’t get: filler about the “history of churros” that has nothing to do with getting a good bar out of your oven tonight.
What Are Churro Cheesecake Bars, Exactly?
Churro cheesecake bars are a layered dessert: a buttery, cinnamon-sugar crescent or biscuit dough on the bottom, a sweetened cream cheese filling in the middle, another dough layer on top, and a final coat of cinnamon sugar baked until golden. Cut into squares, they eat like a cross between a cinnamon roll and a cheesecake bar — crisp edges, creamy center.
The reason this dessert works so well for home cooks is that it borrows the “cheat” technique bakers have used for decades: refrigerated dough as a shortcut crust. It’s the same logic behind a lot of bar cookies, just applied to a flavor combination that feels more inventive than it actually is to make.
Ingredients You’ll Need
This recipe makes a 9×13 pan, about 24 bars.
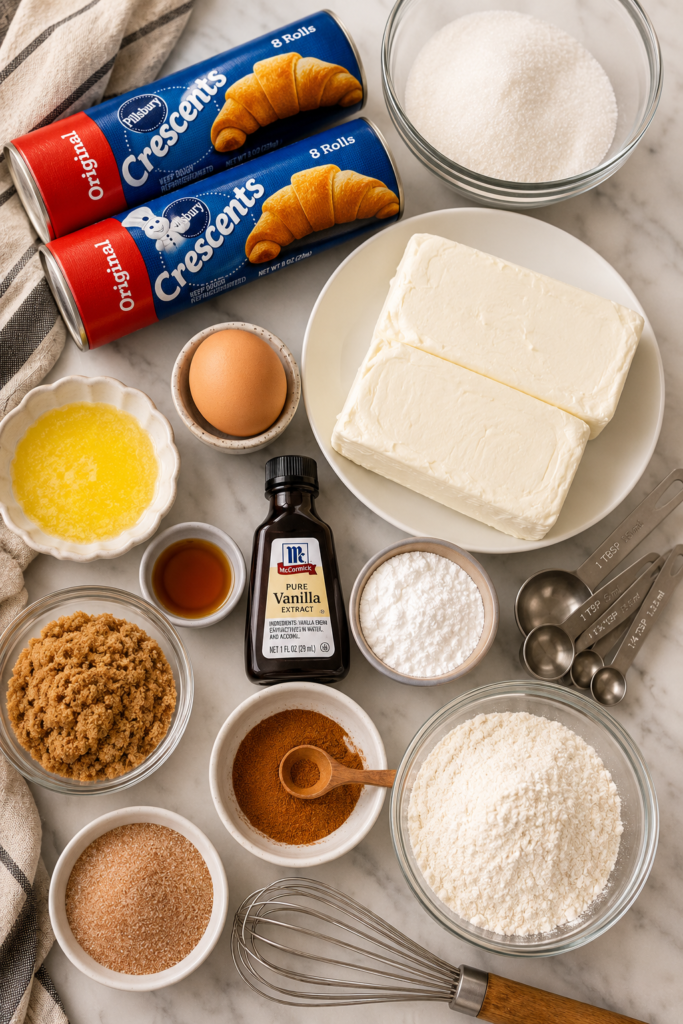
For the dough layers:
- 2 cans (8 oz each) refrigerated crescent roll dough or crescent “sheet” dough
- 6 tablespoons unsalted butter, melted, divided
For the cheesecake filling:
- 16 oz cream cheese, full-fat, softened to room temperature
- 3/4 cup granulated sugar
- 1 large egg
- 1 teaspoon vanilla extract
For the cinnamon sugar coating:
- 1/2 cup granulated sugar
- 2 tablespoons ground cinnamon
A note on brands, since honesty matters here: Pillsbury crescent sheets (the ones without perforations) are noticeably easier to work with than the perforated original crescent rolls, because you’re not pinching seams closed while cold cream cheese filling waits on the counter. If you can only find the perforated kind, that’s fine — just pinch the seams firmly and don’t stress about perfection, since the top layer covers most sins anyway.
Step-by-Step Instructions
1. Prep your pan and oven. Preheat your oven to 350°F (175°C). Grease a 9×13-inch baking dish, or line it with parchment leaving overhang on two sides — this makes lifting the whole slab out for cutting much easier than cutting inside the pan.
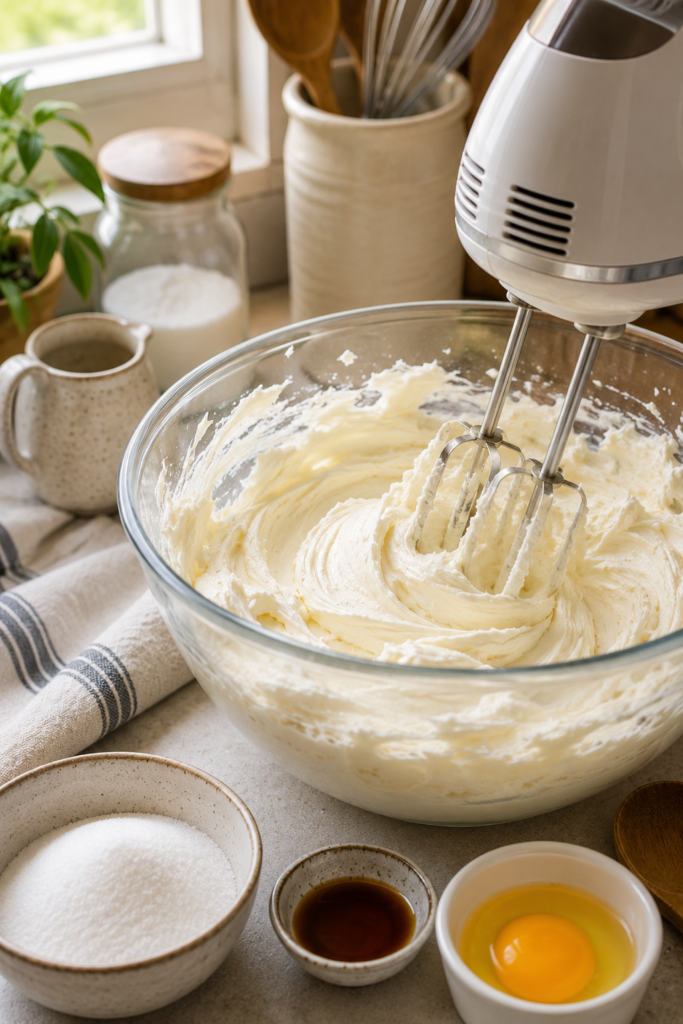
2. Build the bottom layer. Unroll one can of crescent dough into the bottom of the pan. If using perforated dough, pinch the seams together. Press it evenly across the bottom, going slightly up the sides. Brush with about 2 tablespoons of the melted butter.
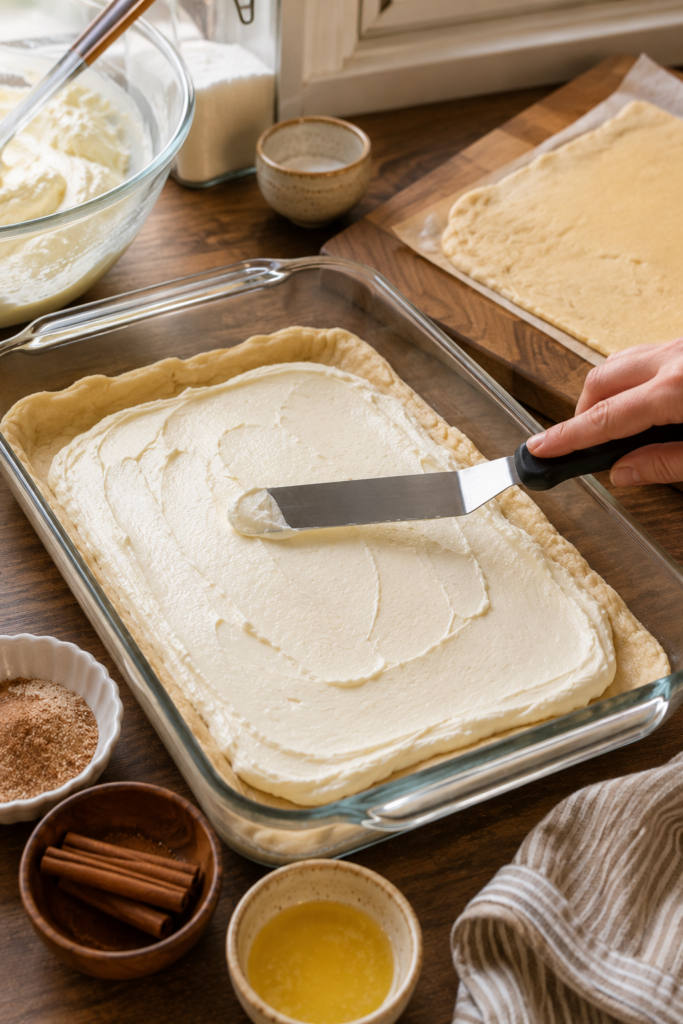
3. Make the filling. In a mixing bowl, beat the softened cream cheese until smooth — about 1 minute with a hand mixer. Add the sugar and beat again until fully combined and lump-free, another minute. Add the egg and vanilla, and mix just until incorporated. Overmixing after the egg goes in can add too much air and cause cracking, so stop as soon as it’s smooth.
4. Layer it in. Spread the cream cheese filling evenly over the bottom dough layer, leaving a small border at the edges so it doesn’t ooze out during baking.
5. Add the top layer. Unroll the second can of dough and lay it over the filling as evenly as you can. It doesn’t need to be perfect or fully sealed at the edges — small gaps bake out fine. Brush the top with the remaining melted butter.
6. Coat with cinnamon sugar. Mix the sugar and cinnamon in a small bowl and sprinkle the entire mixture evenly over the top layer. Don’t hold any back — this is the layer that gives you that actual churro crust.
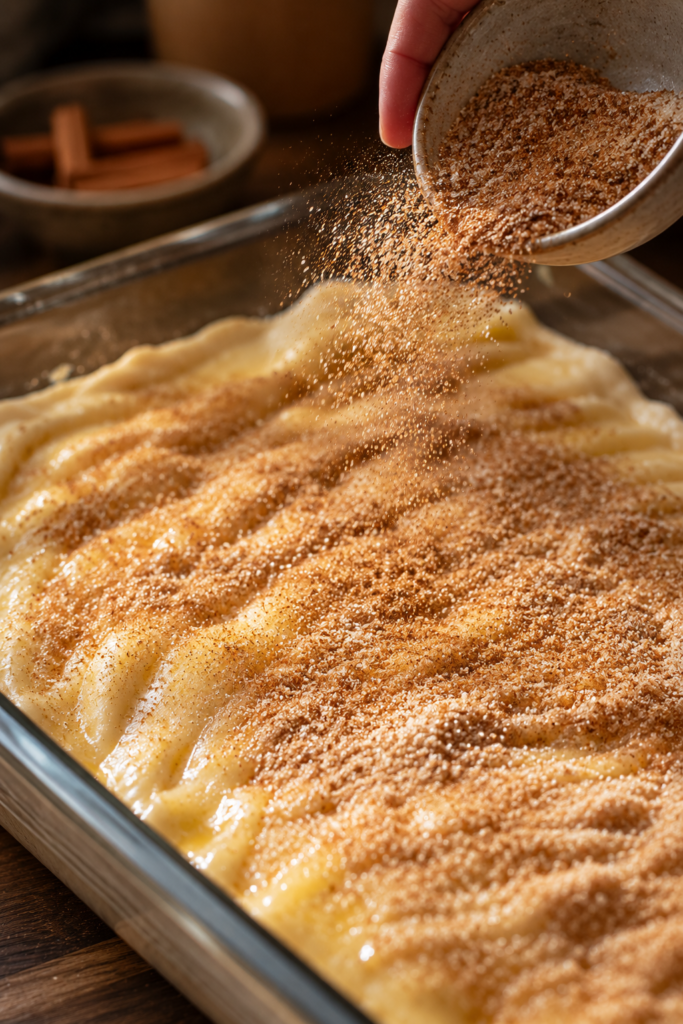
7. Bake. Bake for 28–32 minutes, until the top is deep golden brown and the filling has just set (a slight jiggle in the very center is fine — it firms up as it cools). If the top browns too fast before the center sets, tent loosely with foil for the last 5 minutes.
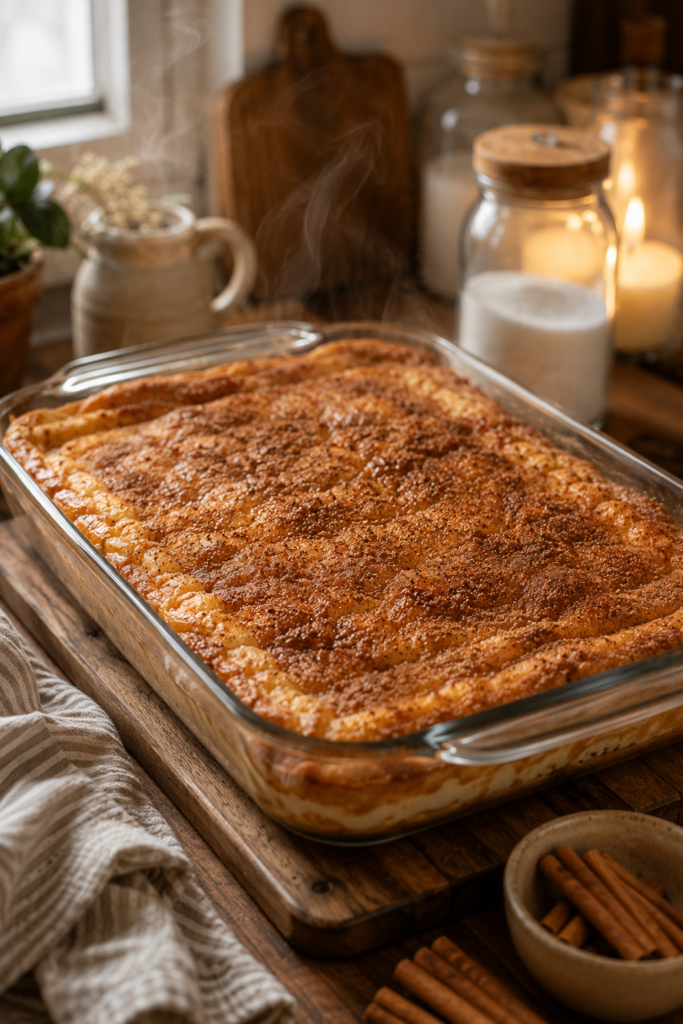
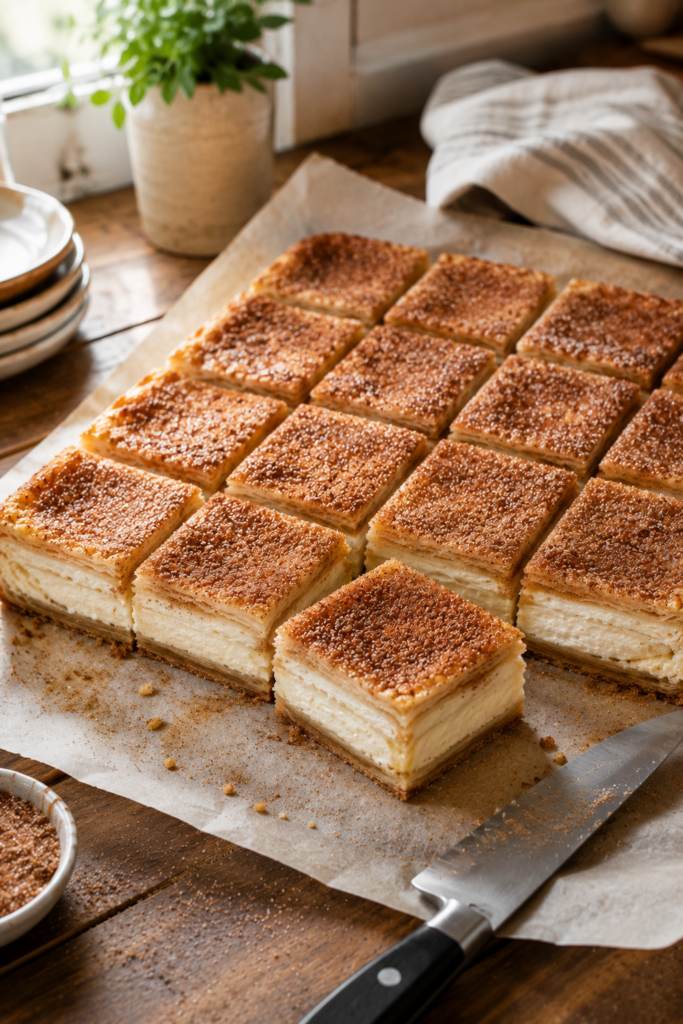
8. Cool completely before cutting. This is the step people skip and regret. Let the pan cool to room temperature, then refrigerate for at least 2 hours before cutting into squares. Cutting warm bars gives you a filling that oozes out instead of holding its shape.
The Mistakes That Actually Ruin This Recipe
I’ve made every one of these at least once, so consider this the shortcut past my trial and error.
Cold cream cheese. If your cream cheese isn’t fully softened, you’ll get lumps no amount of mixing fixes cleanly, and they show up as pockets of unmixed cheese in the finished bars. Set it out for at least an hour, or microwave it in 10-second bursts if you’re short on time.
Skipping the cooling step. I cut into a pan straight out of the oven exactly once. The filling ran everywhere, the bottom layer tore, and what should have been clean squares looked like a cobbler. Two hours in the fridge is non-negotiable if you want bars that hold together.
Too much filling. It’s tempting to use every bit of the cream cheese mixture and pile it high. Resist that — a filling layer thicker than about 1/2 inch takes longer to set than the dough layers need to bake, and you end up choosing between an underbaked center or an overbaked crust.
Using low-fat cream cheese. It has more water content, and that extra moisture works against the structure you’re trying to build. Full-fat is worth it here.
Variations Worth Trying
Dulce de leche swirl: Drizzle 1/3 cup dulce de leche over the filling before adding the top dough layer, then swirl gently with a knife. This is my favorite variation — it adds a caramel note that plays well against the cinnamon.
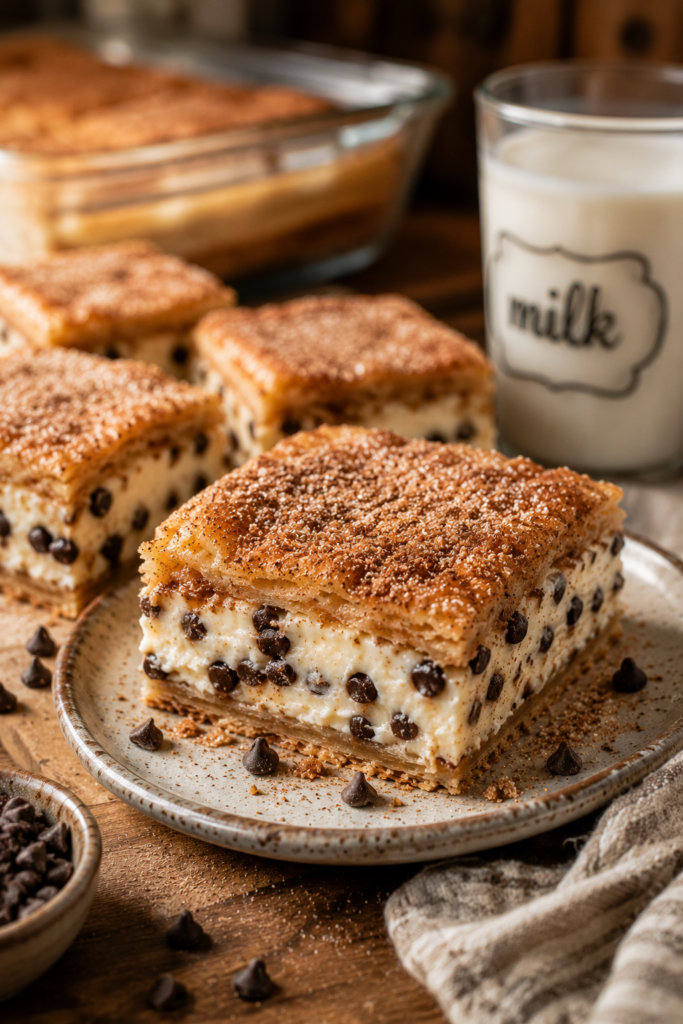
Chocolate chip version: Fold 1/2 cup mini chocolate chips into the cream cheese filling. Kids’ parties tend to disappear faster with this version specifically.
Gluten-free adaptation: Refrigerated crescent dough alternatives are limited, but you can substitute a gluten-free biscuit dough recipe rolled thin, or use gluten-free puff pastry sheets if your grocery store carries them. Bake time may need to shrink slightly since gluten-free doughs often brown faster.
Dairy considerations: This recipe leans hard on cream cheese and butter, so a fully dairy-free version requires substituting both a plant-based cream cheese and a plant-based butter alternative. The texture shifts slightly softer, but it’s a workable substitution if you’re baking for a dairy-restricted guest.
Make-Ahead and Storage
You can assemble the full pan up to a day ahead, cover tightly, and refrigerate unbaked — then bake fresh when you need it, adding a few extra minutes to the bake time since you’re starting from cold.
Baked bars keep well covered in the refrigerator for up to 5 days. They also freeze surprisingly well: wrap individual squares in plastic wrap, then store in a freezer bag for up to 2 months. Thaw overnight in the fridge before serving.
Cost and Time Breakdown
This is a budget-friendly dessert. Two cans of crescent dough typically run $3–4 each, an 8 oz block of cream cheese is usually $2–3, and the sugar, cinnamon, egg, and butter are pantry staples for most home cooks. All told, you’re looking at roughly $10–12 for a pan that yields 24 bars — well under $1 per serving, and considerably cheaper than a bakery cheesecake.
Active prep time is about 20 minutes. Bake time is under 35 minutes. Add the 2-hour chill, and you’re looking at a dessert that’s mostly hands-off, which makes it realistic for a weeknight even though it looks like it took real effort.
Frequently Asked Questions
Can I use puff pastry instead of crescent dough? Yes, though the texture shifts from soft and biscuit-like to flakier and more layered. Puff pastry needs a slightly higher bake temperature (375°F) and you’ll want to dock it lightly with a fork before adding the filling to prevent excessive puffing.
Why did my filling crack on top? Cracking usually means the oven ran hot or the bars baked a few minutes too long. Cream cheese fillings, even thin ones like this, are sensitive to overbaking. Pull the pan as soon as the center barely jiggles.
Can I double this recipe for a crowd? Yes, in a half-sheet pan (roughly 13×18), doubling the recipe works well. Bake time increases slightly, closer to 35–38 minutes, so watch the top color rather than relying on the clock alone.
Do I need to use full-fat cream cheese? Strongly recommended. Reduced-fat versions have higher water content, which can make the filling looser and slower to set.
Can I make this without eggs? The egg helps the filling set with structure. You can omit it for a softer, more mousse-like filling, but expect the bars to hold together less cleanly when cut. This works better if you’re serving it in a bowl rather than as cut squares.
How do I know when it’s actually done? Look for deep golden color across the entire top, not just the edges, and a center that jiggles slightly but doesn’t look liquid. If you’re unsure, an instant-read thermometer inserted into the filling should read around 150°F (65°C).
Can I use flavored cream cheese? Cinnamon or vanilla-flavored cream cheese works fine and can save you a step, though plain cream cheese with added vanilla gives you more control over sweetness.
Is this the same as churro cheesecake bites or churro cheesecake cookies? Related but different. Bites and cookies are typically individual portions using a similar flavor profile but a different dough-to-filling ratio and a shorter bake time. This bar version is built for slicing and sharing from one pan.
Final Thoughts
The reason this recipe has stuck around in my regular rotation isn’t just the flavor — it’s that it consistently overperforms relative to the effort it takes. Fifteen minutes of prep gets you a dessert that reads as a lot more complicated than it is, which is exactly the kind of return on investment worth repeating.
If you try the dulce de leche swirl, or land on a dairy-free version that works well, I’d genuinely like to hear how it turned out — recipes like this get better through exactly that kind of feedback loop.