
21 Homemade Candy Recipes That Beat Anything From a Store Shelf
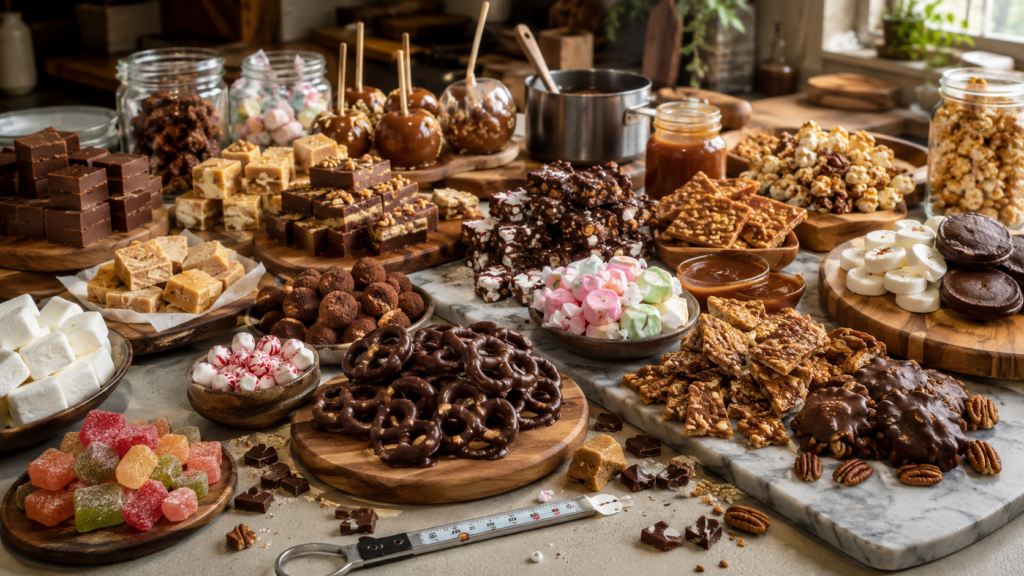
There’s a moment every candy maker knows: sugar hits 300°F, turns the color of an old penny, and you have about eight seconds to decide whether to pull it off the heat or let it go one shade darker. That razor’s edge between “perfect toffee” and “smoke alarm” is exactly why homemade candy has a reputation for being intimidating. It doesn’t need to be.
Most homemade candy recipes come down to controlling three things: sugar concentration, temperature, and how much you disturb the mixture while it cooks. Once you understand those three levers, fudge, caramel, brittle, and truffles all start to feel like variations on the same theme rather than 21 separate skills to learn.
This guide walks through 21 tested homemade candy recipes, grouped by technique, with the temperatures and troubleshooting tips that actually matter. No candy thermometer paranoia required — though it does help.
A Quick Primer: The Stages of Cooked Sugar
Before the recipes, it helps to know the stages a sugar syrup passes through as it cooks. These are the checkpoints that separate soft caramels from hard brittle:
- Thread stage (215–235°F): syrup forms a thin thread when dripped from a spoon. Used for some fondants and syrups.
- Soft ball (235–245°F): forms a soft, pliable ball in cold water. This is fudge and soft caramel territory.
- Firm ball (245–250°F): holds its shape but still gives. Classic caramels.
- Hard ball (250–265°F): holds shape firmly. Nougat and marshmallow territory.
- Soft crack (270–290°F): separates into threads that bend slightly before breaking. Taffy.
- Hard crack (300–310°F): separates into brittle threads that snap. Brittle and lollipops.
An inexpensive candy thermometer clipped to the side of the pot removes almost all the guesswork here. It’s the single best $10 you can spend before attempting any of this.
Fudge: The Forgiving Starting Point
1. Classic Chocolate Fudge
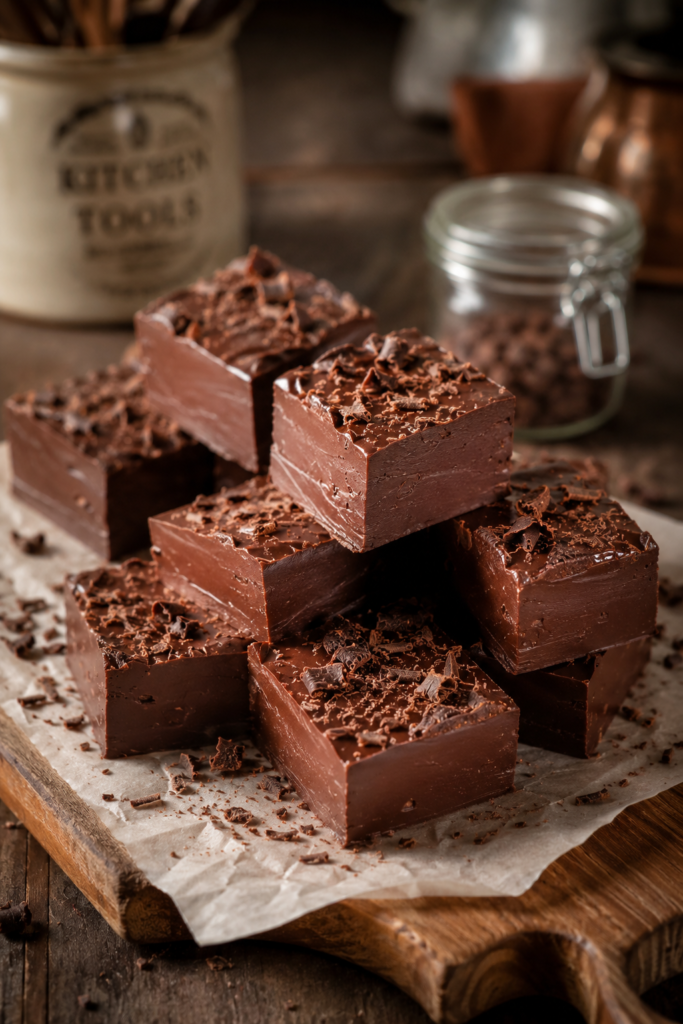
Melt butter, sugar, and evaporated milk together, bring to a boil, and cook to soft ball stage (235–240°F). Off the heat, stir in chocolate chips and marshmallow fluff until glossy, then pour into a lined pan. The fluff isn’t cheating — it stabilizes the sugar crystals so the fudge stays smooth instead of turning grainy.
Common failure point: grainy fudge almost always means sugar crystals formed too early, usually from stirring while the syrup is still boiling, or from undissolved sugar sticking to the side of the pot. Brush the pot sides with a wet pastry brush before it boils to wash any stray crystals back down.
2. Peanut Butter Fudge
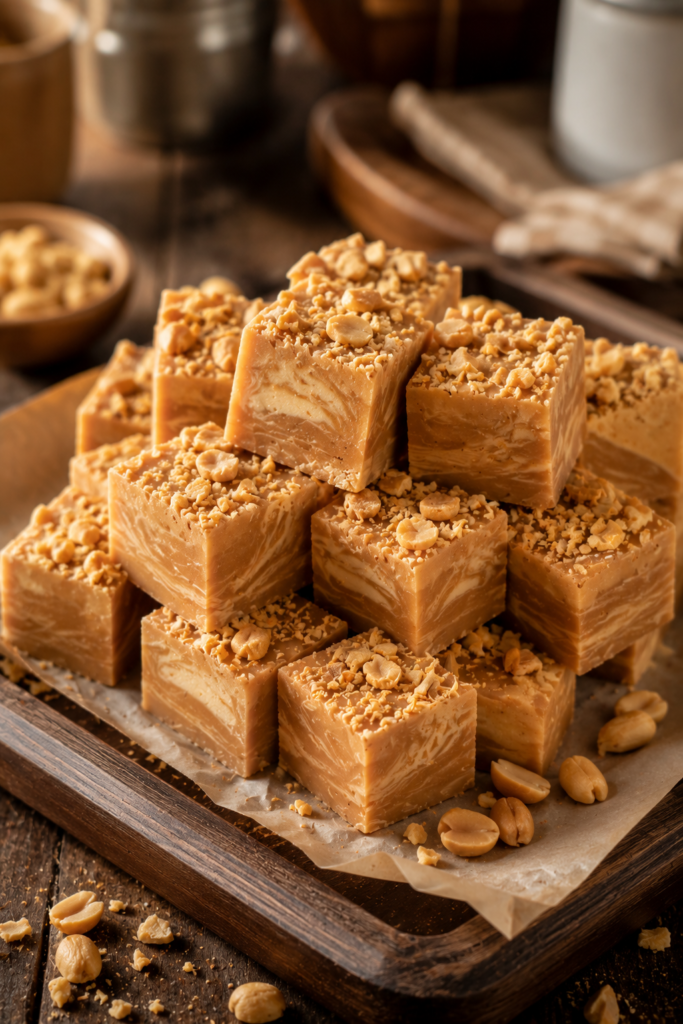
Same method as chocolate fudge, but swap in peanut butter for half the fat and skip the chocolate. Because peanut butter is thicker than melted chocolate, this version sets slightly faster — have your pan ready before you start stirring.
3. Maple Walnut Fudge
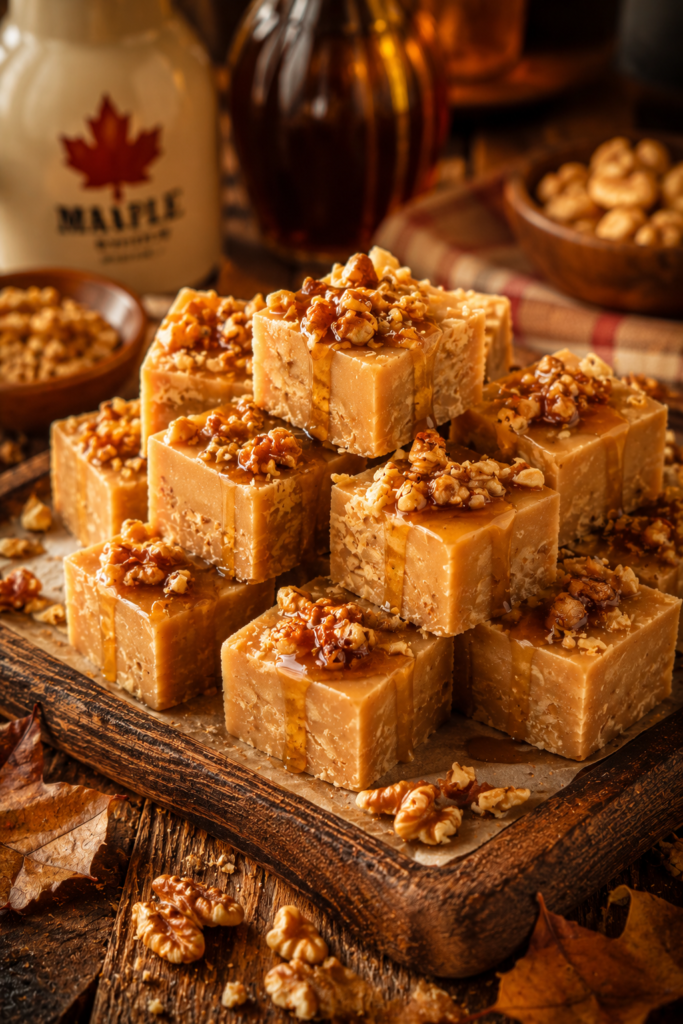
Replace half the granulated sugar with maple syrup and cook to soft ball stage. Maple syrup has a lower boiling point tolerance for scorching than plain sugar, so keep the heat at medium rather than high. Fold in toasted walnuts right before pouring.
4. No-Bake Fudge (Microwave Method)
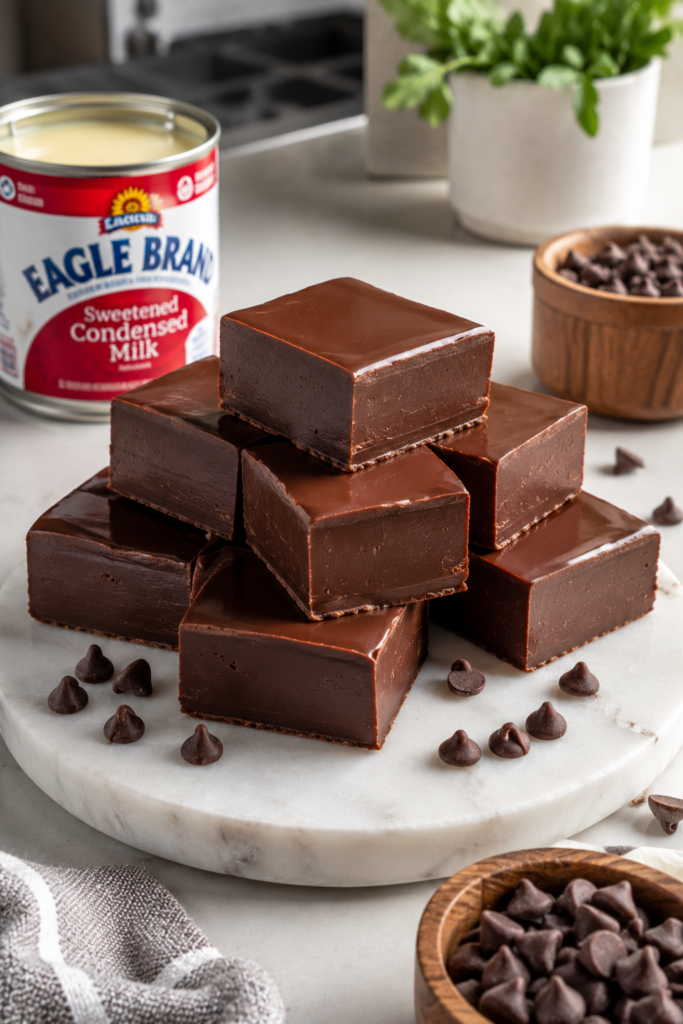
For a beginner-safe version, melt chocolate chips, sweetened condensed milk, and a pinch of salt in 30-second microwave bursts, stirring between each. No thermometer, no boiling sugar — just don’t overheat the chocolate, which will seize into a grainy paste if it gets too hot too fast.
Caramels: Patience Pays Off
5. Soft Chewy Caramels
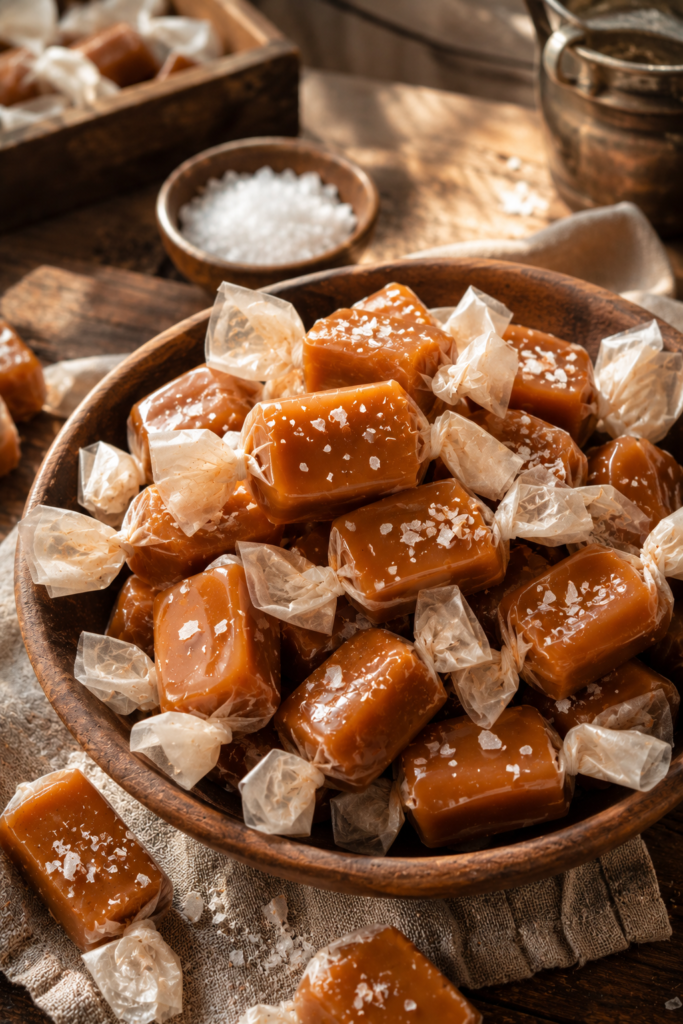
Cook sugar, corn syrup, butter, and cream to firm ball stage (245°F). Corn syrup is doing real work here — it’s an “interfering agent” that physically blocks sugar molecules from binding into crystals, which is why corn-syrup caramels stay smooth while pure-sugar versions can turn grainy.
Salt tip: finishing with flaky sea salt on top (not stirred in) gives bursts of salinity instead of a uniformly salty caramel, which reads as more sophisticated on the palate.
6. Salted Caramel Sauce
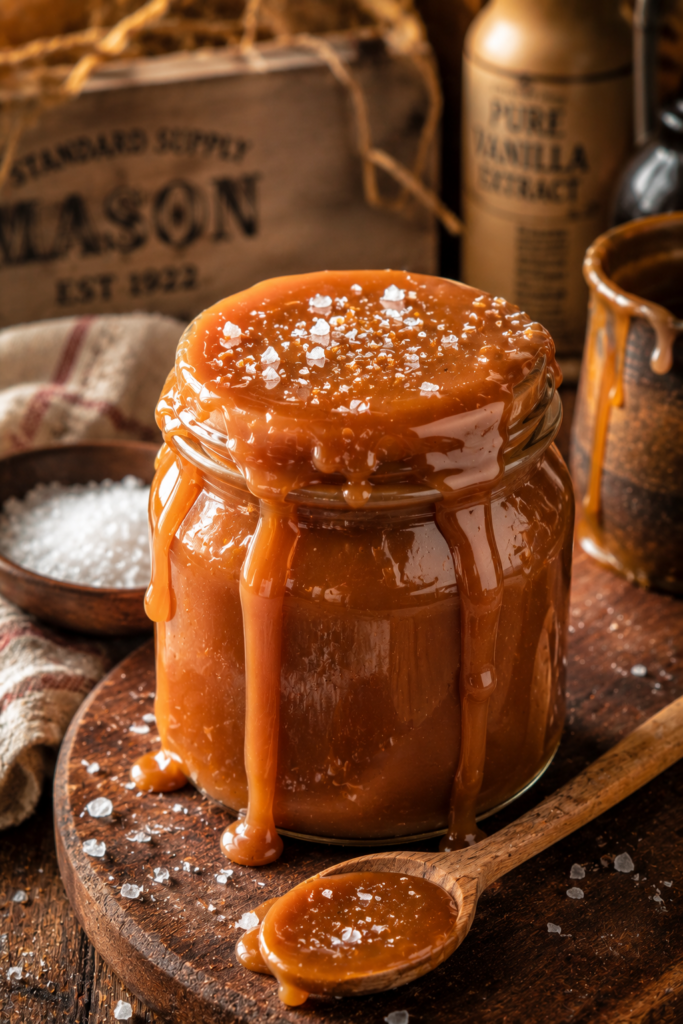
Stop the same caramel base at 230°F and thin it with extra cream before it sets solid — you’ll have a pourable sauce instead of a chewable candy. Store in the fridge for up to three weeks.
7. Turtle Clusters
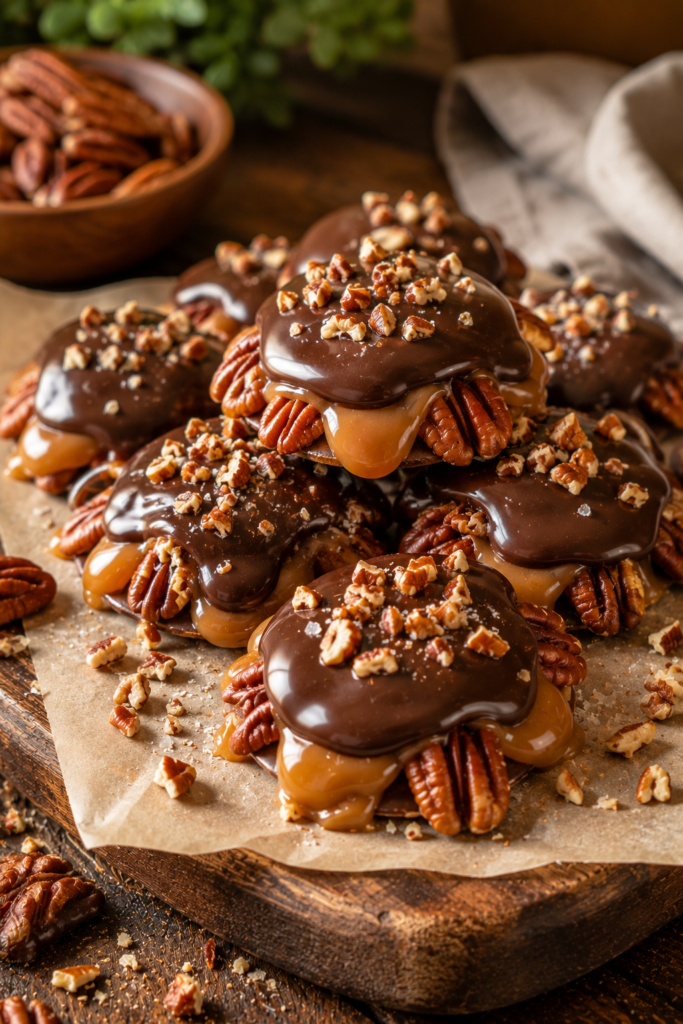
Arrange pecan halves in small clusters, spoon warm caramel over the top, let it firm up for 20 minutes, then coat in melted chocolate. Working in small batches keeps the caramel from setting before you finish assembling.
8. Caramel Apples
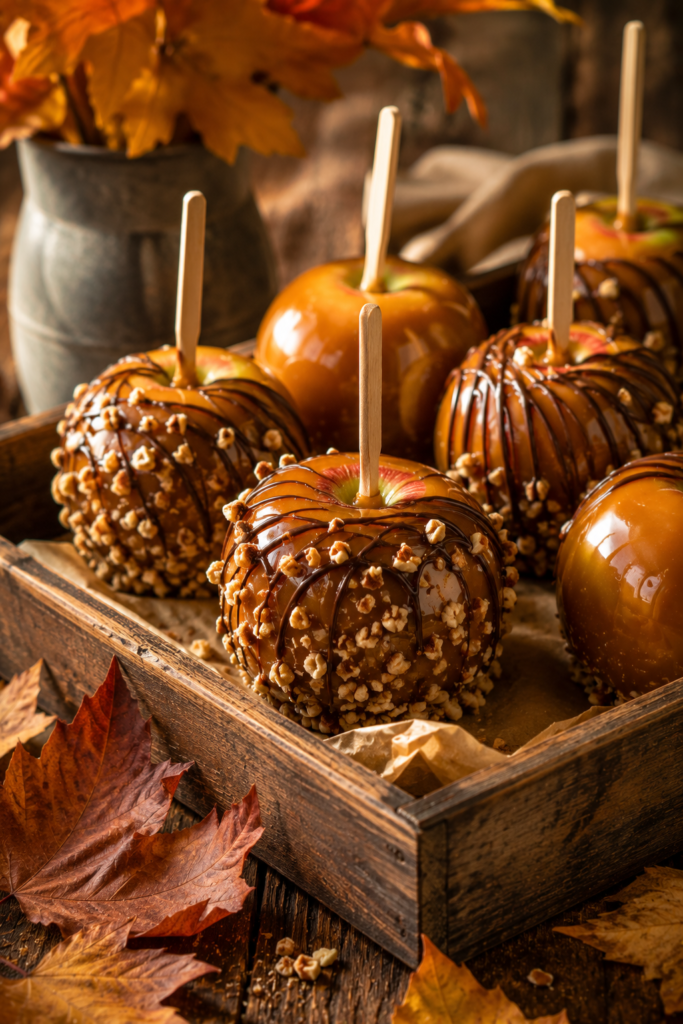
Cook caramel to firm ball stage, then dip room-temperature apples (cold apples cause the caramel to slide right off). A thin coat of corn syrup brushed on the apple first helps the caramel grip the skin.
Brittles and Toffees: The High-Heat Category
9. Peanut Brittle
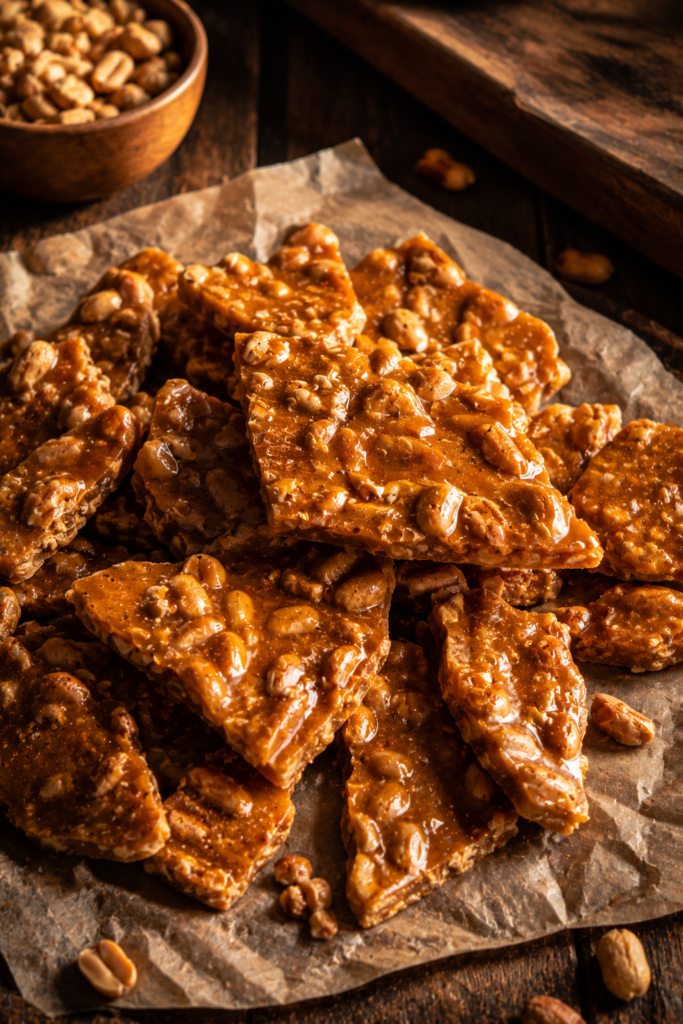
Cook sugar and corn syrup to hard crack stage (300°F), stir in peanuts and butter, then finish with baking soda off the heat. The baking soda reacts with the hot sugar to release tiny bubbles, which is what gives brittle its light, shattery texture instead of dense hardness.
10. Almond Toffee
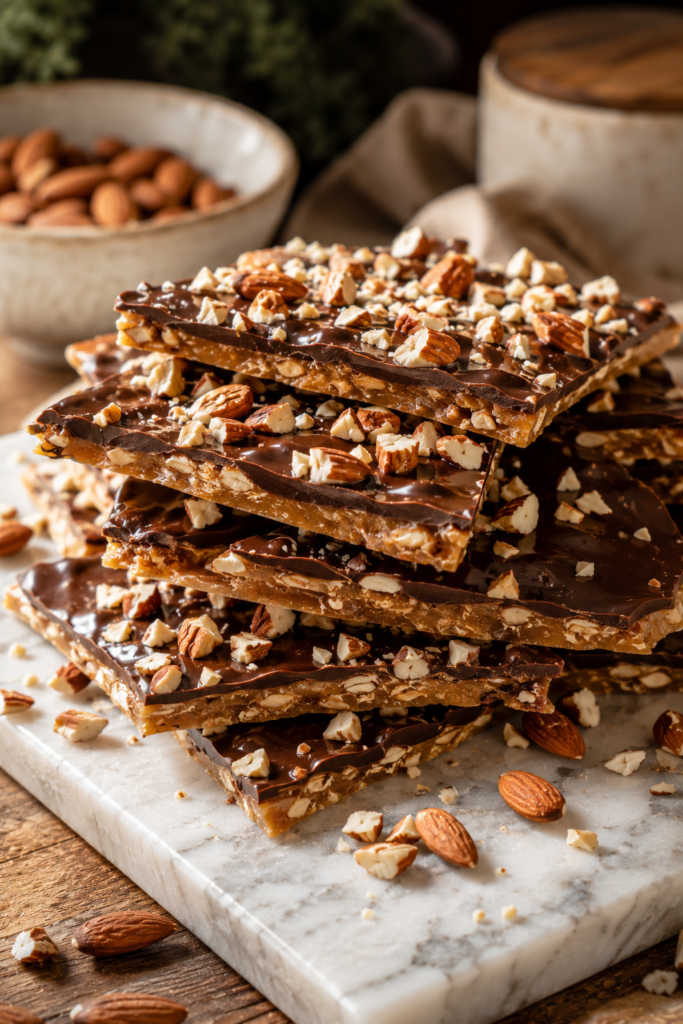
Cook butter and sugar together (no water) to hard crack stage, stirring constantly so the milk solids in the butter don’t scorch. Pour onto a sheet pan, top with melted chocolate and chopped almonds while still warm so the chocolate melts into place.
11. Pecan Brittle
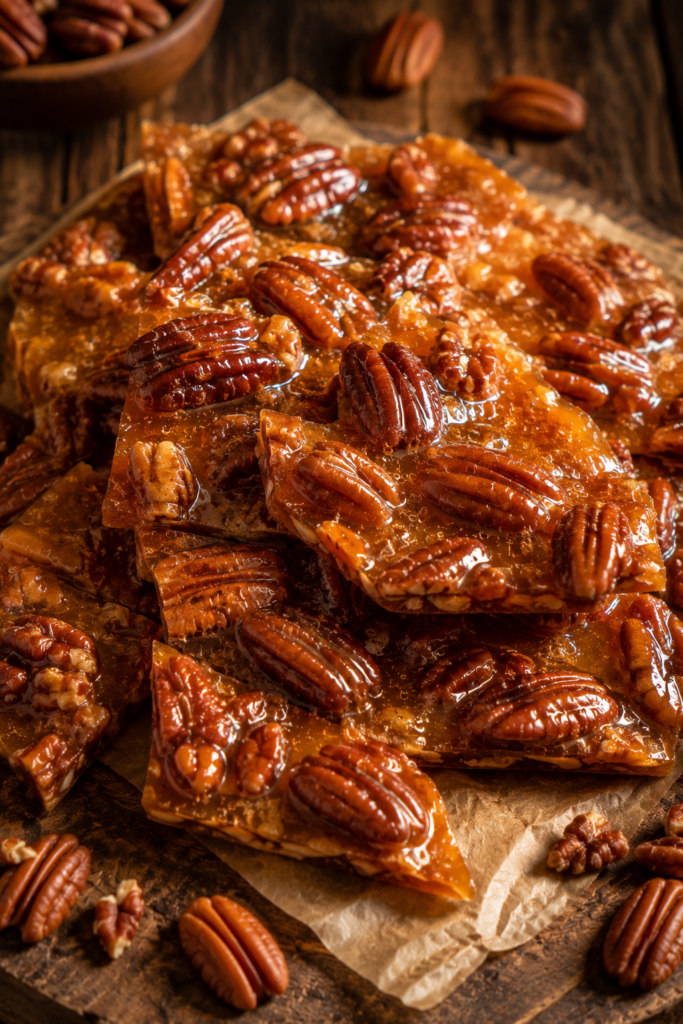
Same method as peanut brittle, using pecans. Because pecans are softer and oilier than peanuts, fold them in gently at the very end to avoid breaking them into fragments.
12. Popcorn Brittle
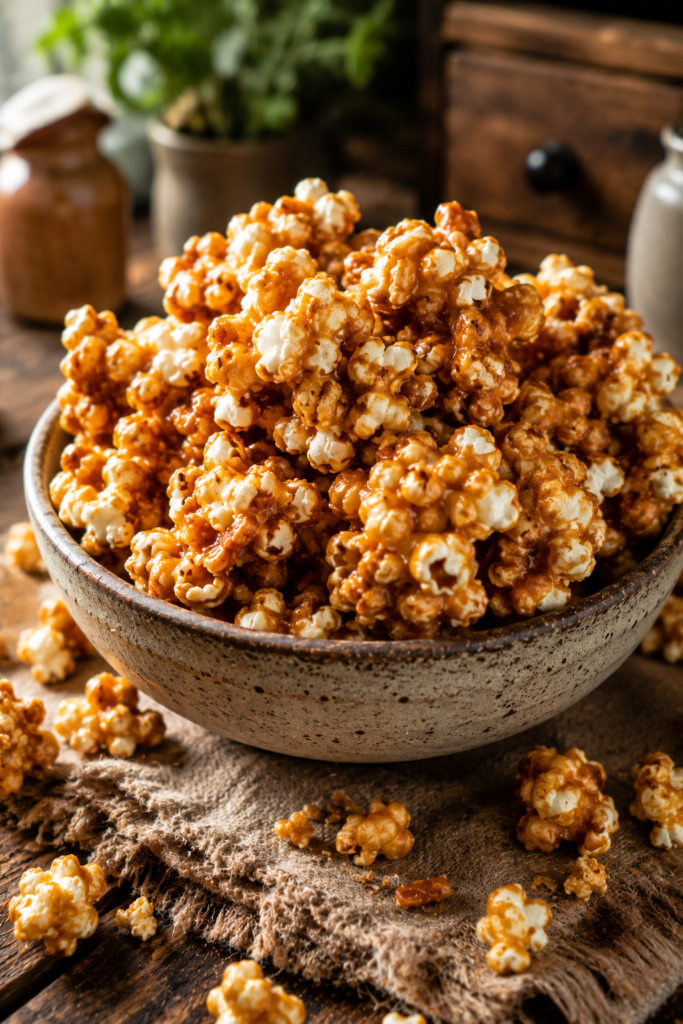
Pour hot brittle syrup over freshly popped popcorn instead of nuts. Work fast — the syrup starts setting the moment it hits the cooler popcorn, so have the popcorn already spread on a sheet pan before the sugar reaches temperature.
Truffles and Chocolates: No Thermometer Needed
13. Classic Chocolate Truffles
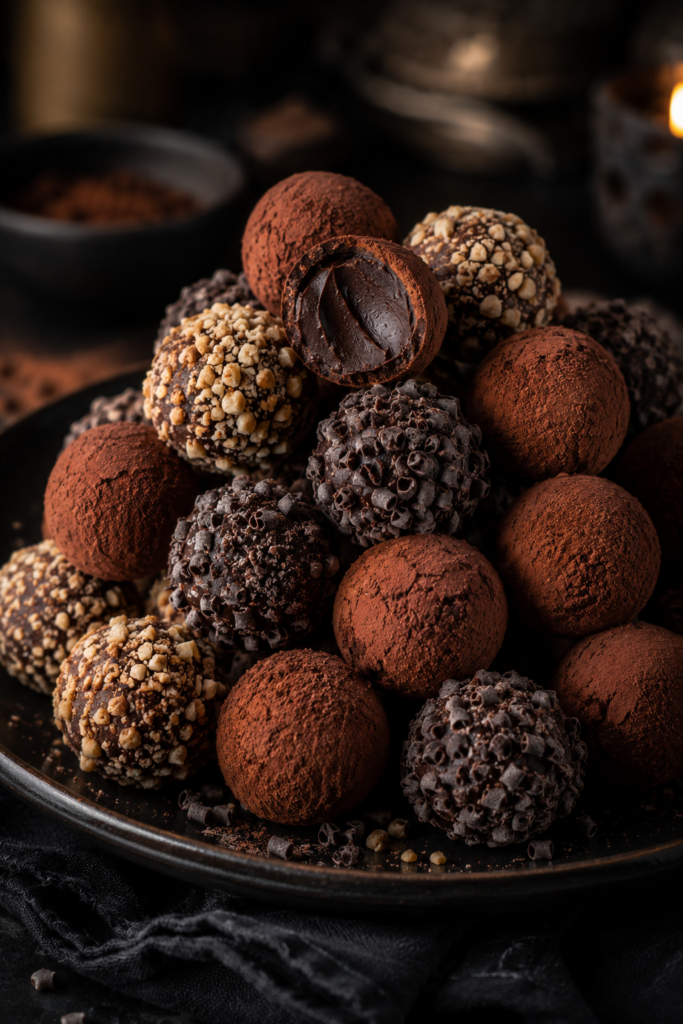
Heat cream just to a simmer, pour over chopped chocolate, let sit for two minutes, then stir into a smooth ganache. Chill until scoopable, roll into balls, and coat in cocoa powder. The two-minute rest before stirring matters — stirring too soon can cause the chocolate to seize or separate into an oily mess.
14. Peppermint Bark
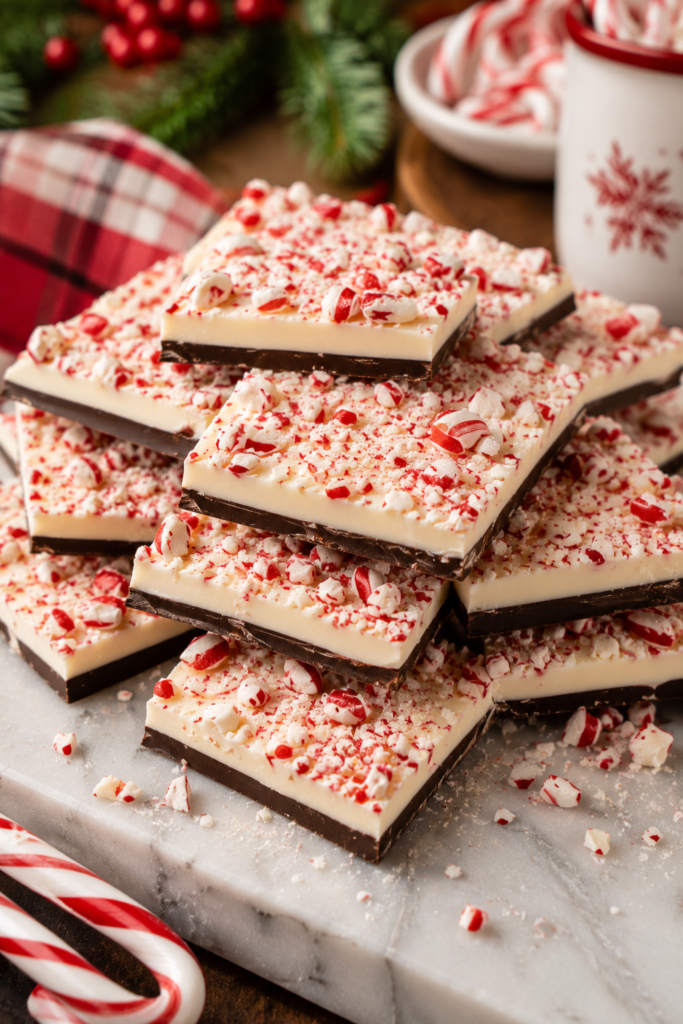
Layer melted dark chocolate, then white chocolate, topped with crushed candy canes, chilling briefly between layers so they don’t blend together. Crush the candy canes in a sealed bag with a rolling pin rather than a food processor, which pulverizes them into dust.
15. Chocolate-Covered Pretzels

Dip pretzel rods in tempered chocolate, then decorate with sprinkles or a drizzle before the chocolate sets. If you skip tempering, the chocolate will still taste fine but will look dull and streaky instead of glossy — tempering is a cosmetic step, not a flavor one.
16. Rocky Road Clusters
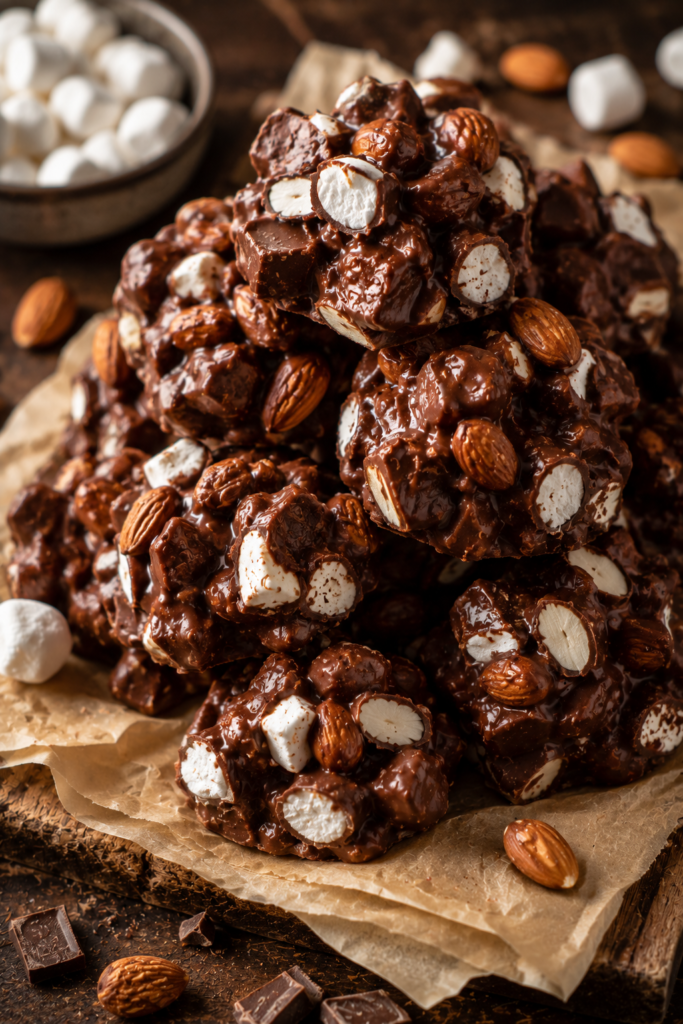
Combine melted chocolate, mini marshmallows, and nuts, drop by spoonfuls onto parchment, and chill. Working with slightly cooled (not hot) chocolate keeps the marshmallows from melting into the mixture entirely.
Chewy and Gummy Candies
17. Homemade Marshmallows
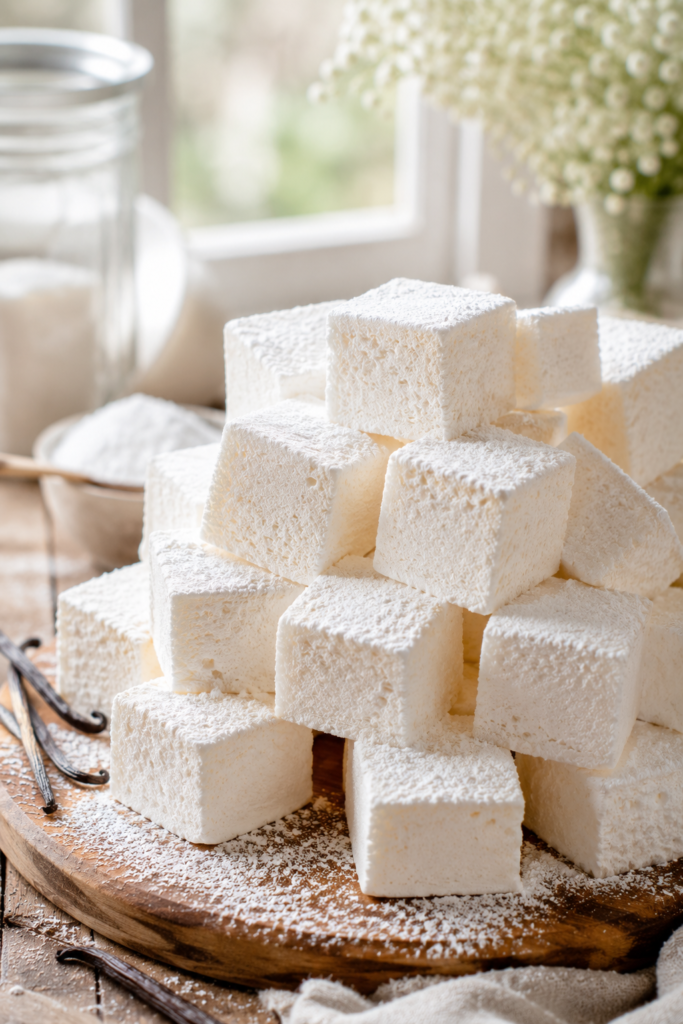
Bloom gelatin in cold water, then whip it into a hot sugar syrup cooked to soft ball stage until it triples in volume and turns glossy white. This takes a stand mixer and about 12 minutes of whipping — a hand mixer will work but takes noticeably longer and your arm will know it.
18. Fruit Gummies
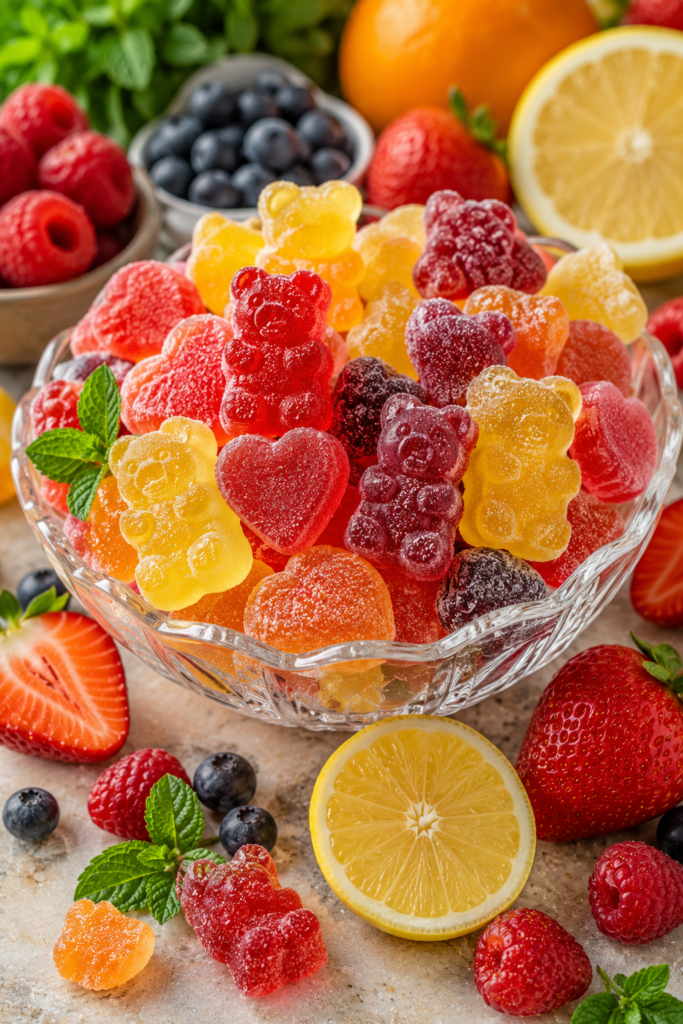
Combine fruit juice, sugar, and gelatin, heat until dissolved, then pour into molds. More gelatin than a typical marshmallow recipe gives these their firmer, chewier bite. Let them dry uncovered at room temperature for a few hours for that classic slightly tacky gummy-candy texture.
19. Saltwater Taffy
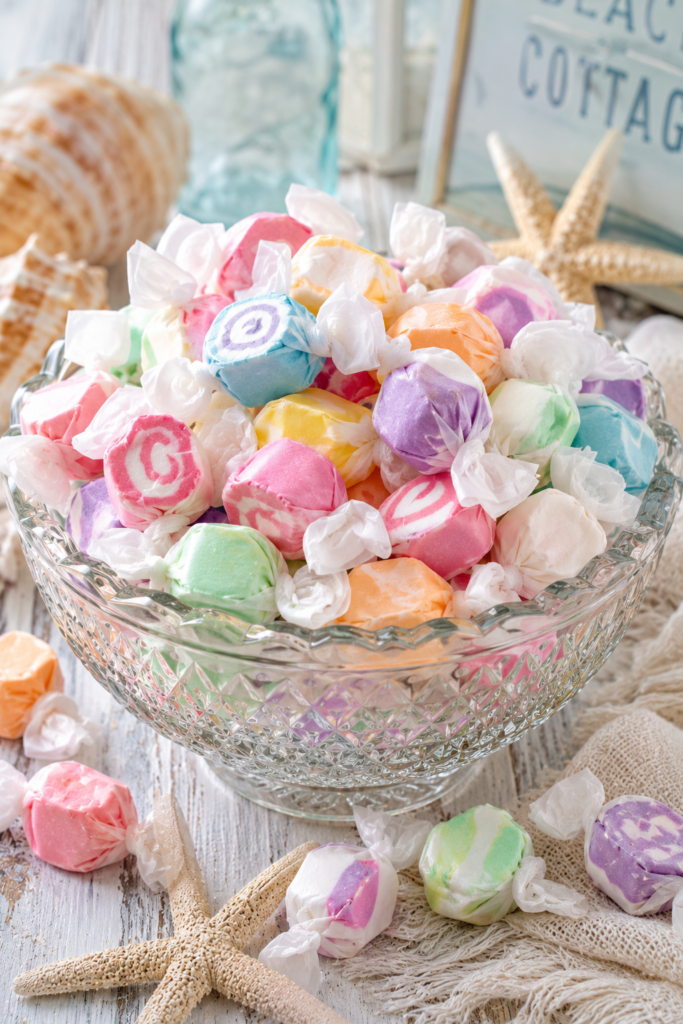
Cook sugar, corn syrup, and butter to soft crack stage, then pull the cooling mass by hand (or between two hooks) until it lightens in color and turns satiny. The pulling process incorporates air, which is what makes taffy chewy instead of just hard and sticky.
Mints and Small Bites
20. Peppermint Patties
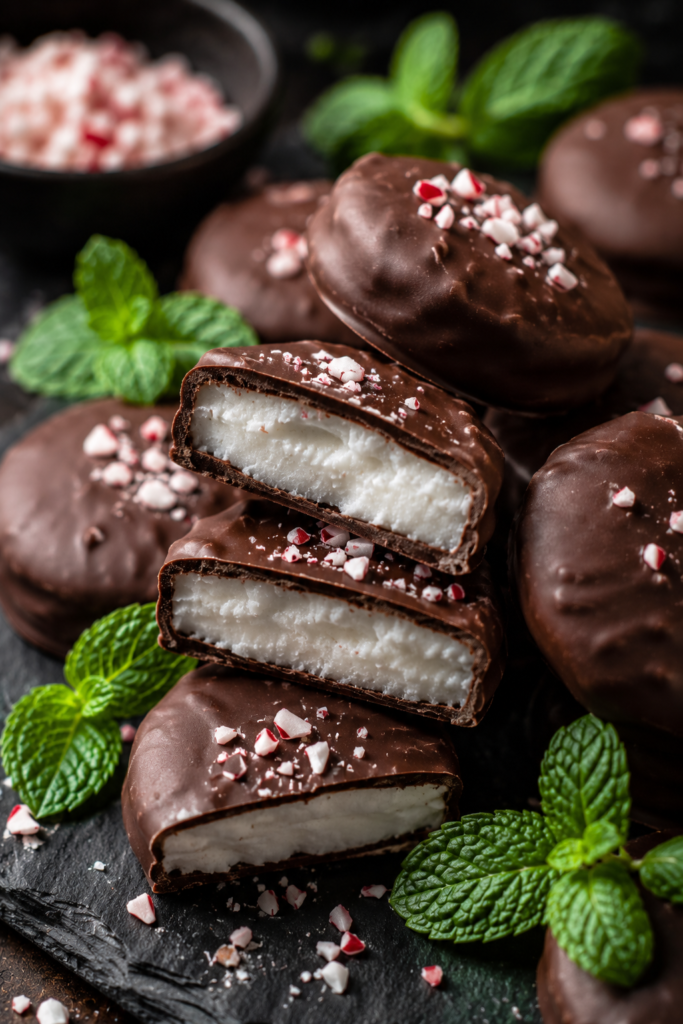
Combine powdered sugar, condensed milk, and peppermint extract into a stiff dough, flatten into discs, chill, and dip in melted chocolate. Keep your hands lightly dusted with powdered sugar while shaping — this dough is sticky enough to bond to skin more than you’d expect.
21. Butter Mints
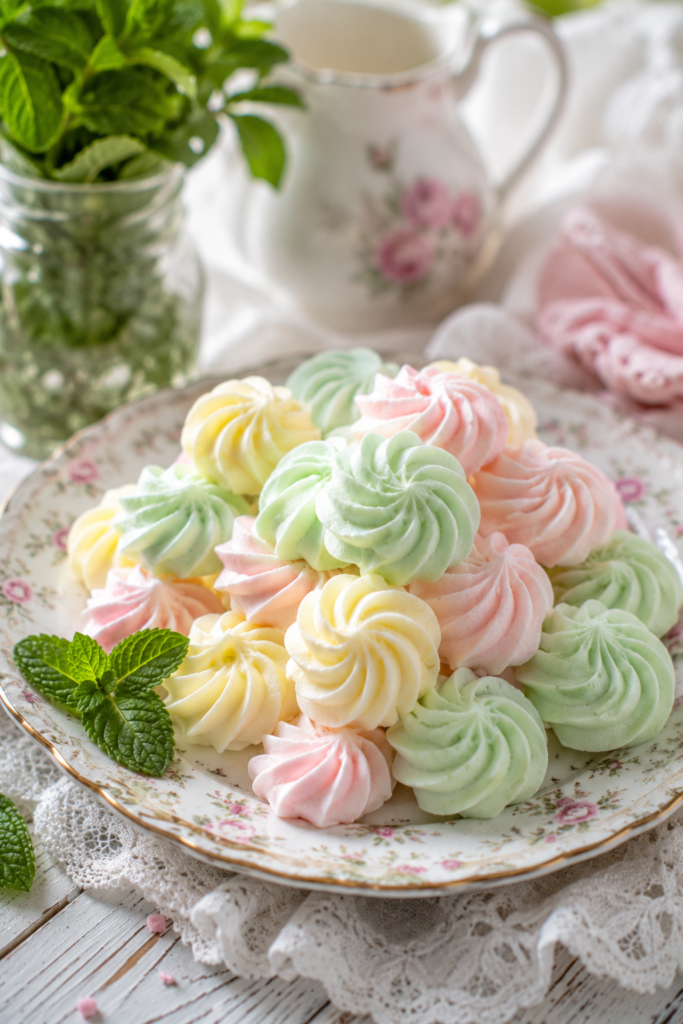
Beat softened butter with powdered sugar and a few drops of mint extract until it forms a pipeable paste, then pipe into small rounds and let air-dry overnight. These are the simplest recipe in the whole list and a good one to make with kids.
Tools Worth Having
You don’t need a candy-making arsenal, but a few things make the difference between fighting your equipment and just cooking:
- A heavy-bottomed saucepan distributes heat evenly and reduces scorching, especially for toffee and brittle.
- A clip-on candy thermometer removes the guesswork on stage cooking.
- Parchment or silicone baking mats save you from chiseling caramel off a pan.
- A bench scraper helps cut fudge and caramel into clean squares.
Frequently Asked Questions
Why did my fudge turn out grainy instead of smooth? Grainy fudge is almost always premature crystallization — sugar crystals forming before the mixture is fully cooked and cooled. Avoid stirring while the syrup boils, brush down any sugar crystals on the pot’s sides, and let the mixture cool undisturbed before beating it.
Can I make candy without a candy thermometer? Yes, using the cold-water test: drop a bit of hot syrup into a cup of cold water and check its texture (soft ball, hard crack, etc.) against the stages listed above. It’s less precise than a thermometer but works in a pinch.
Why does my caramel turn out too hard or too soft? Caramel firmness is directly tied to the temperature it’s cooked to. A few degrees higher than your recipe calls for makes a noticeably firmer, chewier caramel; a few degrees lower makes it softer and stickier. Precision here matters more than in almost any other candy category.
How long does homemade candy actually keep? Most fudge and caramel keep about two to three weeks at room temperature in an airtight container. Brittle and toffee last a bit longer, around a month, as long as humidity is kept out. Truffles and anything with fresh cream should be refrigerated and eaten within one to two weeks.
Why did my chocolate turn dull and streaky after it set? That’s usually a sign the chocolate wasn’t tempered. Untempered chocolate still tastes fine, but the cocoa butter crystals set unevenly, which shows up as a dull, sometimes chalky-looking surface instead of a clean shine.
Can I substitute corn syrup with something else? Honey or golden syrup can generally substitute in a pinch, though both carry more flavor of their own than plain corn syrup, which will come through in the final candy. Agave syrup also works but tends to produce a softer set.
Why did my brittle come out chewy instead of crisp? This almost always means the syrup didn’t reach a true hard crack stage before you added the mix-ins. Humidity can also soften brittle after the fact, so store it in a genuinely airtight container, not just a loosely folded bag.
Is it safe to reheat cooled sugar syrup that seized or crystallized? Yes — add a splash of water and reheat gently, stirring until it fully dissolves again before continuing to cook it back up to temperature.
Final Thoughts
The 21 recipes above cover most of what “homemade candy” actually means: fudge for beginners, caramel for people who like a challenge, brittle and toffee for the high-heat crowd, and truffles for anyone who wants something impressive without touching a thermometer. Pick one from each category, work through them over a few weekends, and the sugar-stage vocabulary above stops being abstract and starts being muscle memory.
Start with the fudge or the no-bake versions if this is your first attempt at candy making — they’re the most forgiving, and success there builds the confidence (and kitchen instincts) you’ll want before you take on a pot of sugar at 300°F.