
20 Rice Crispy Bar Recipes That Will Ruin Store-Bought Forever
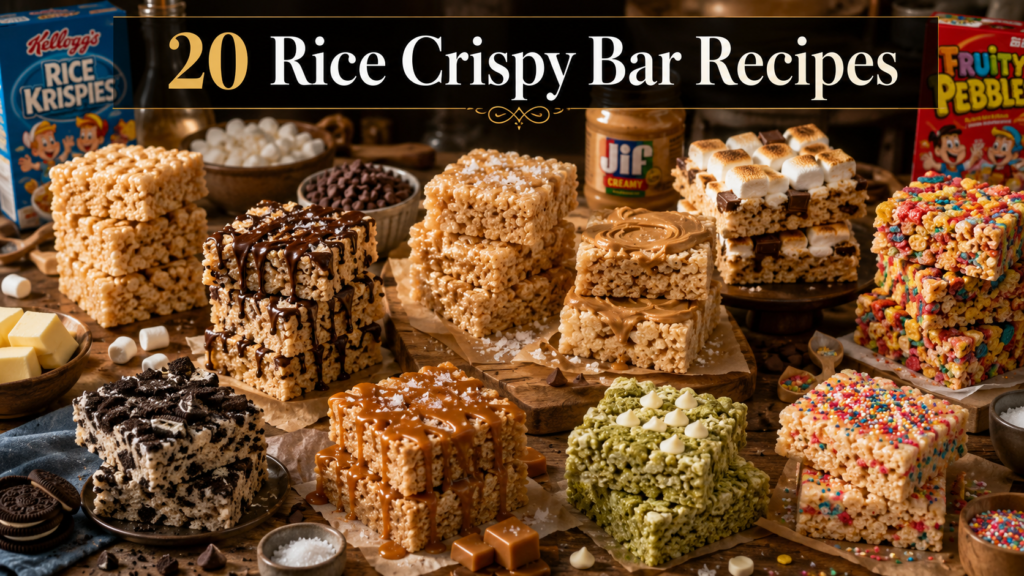
There’s a moment every home baker hits usually around 9 PM on a Tuesday, staring at a bag of marshmallows and a box of Rice Krispies when you realize you’re about to make something that will disappear within 24 hours no matter what. That’s the real magic of rice crispy bars. They don’t last. They’re not supposed to.
I’ve made some version of rice crispy bars every few months for years. The first time I tried to “elevate” them with brown butter and sea salt, my family looked at me like I’d bought a Picasso for the bathroom. Then they ate six pieces each. Opinion changed fast.
Here’s the thing most recipe sites won’t tell you: the classic recipe on the cereal box is genuinely good. But it’s also a starting point, not a destination. Once you understand the basic ratio—butter, marshmallows, cereal—you can riff endlessly. These 20 rice crispy bar recipes cover everything from five-minute weeknight versions to layered showstoppers that take 45 minutes and earn you serious social media engagement.
Whether you’re making them for a school bake sale, a potluck, or just because you need something sweet and your oven feels like too much commitment tonight, this guide covers every angle. You’ll also find answers to the questions that actually trip people up: why bars get too hard, how to keep them chewy for days, and whether you really need real butter. (You do. We’ll discuss.)
What Makes a Rice Crispy Bar Actually Good?
The best rice crispy bars share three qualities: a buttery, slightly salty base; marshmallow that’s gooey without being sticky-teeth; and cereal that stays crisp, not soggy. Everything else is creative choice.
Most people overcook the marshmallow. That’s the single biggest mistake. Once you melt butter in the pan and add marshmallows, you want them just melted—not bubbling furiously on high heat. Medium-low is your friend. The moment marshmallows lose their shape and look smooth, pull the pan off the heat. Residual warmth finishes the job, and you preserve the chewiness that makes these addictive.
The second thing people get wrong is packing the pan too hard. You press the mixture in firmly, yes, but there’s a difference between setting it and compressing it into a dense brick. Use buttered hands or a piece of parchment paper and apply gentle, even pressure. The bars should feel slightly springy when you press them, not rock solid.
One thing I changed my mind about over the years: the butter-to-marshmallow ratio. The box recipe calls for 3 tablespoons of butter to 40 large marshmallows. I bump it to 4 tablespoons, sometimes 5 if I’m using brown butter. The extra fat keeps bars softer for longer and rounds out the sweetness. Try it once and you won’t go back.
The 20 Rice Crispy Bar Recipes, Ranked by Effort
1. Classic Rice Crispy Bars (The Baseline)
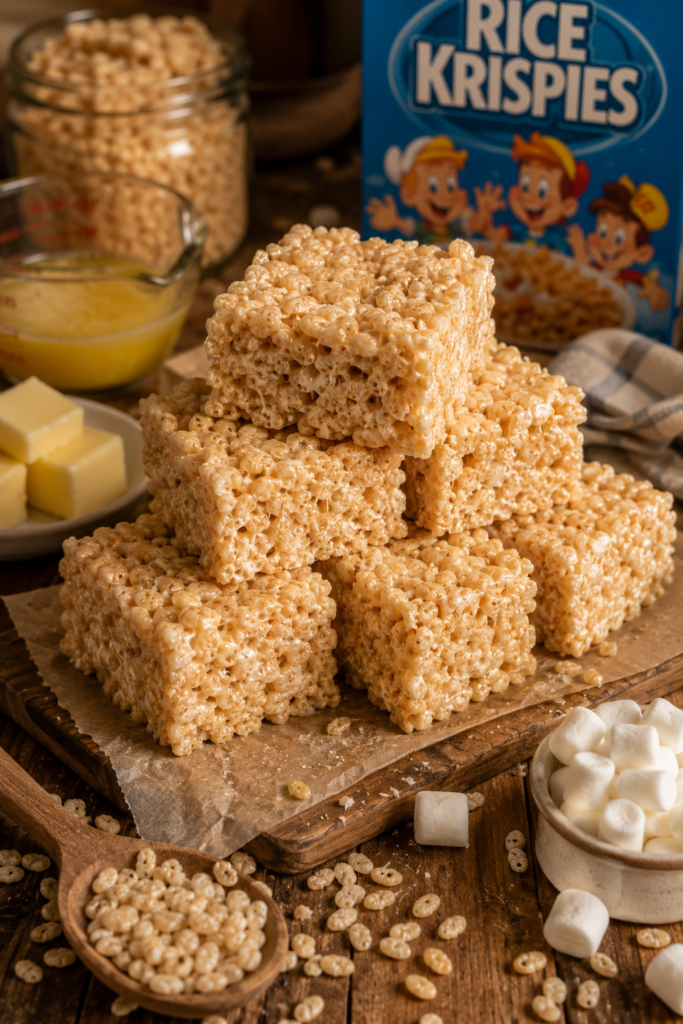
Effort: 10 minutes. Feeds: 16 bars.
Melt 4 tablespoons unsalted butter (Land O’Lakes or any quality brand) over medium-low heat. Add one 10-ounce bag of mini marshmallows (Jet-Puffed works best—they melt more evenly than large ones). Stir until smooth. Remove from heat. Add 6 cups Rice Krispies and fold until coated. Press into a buttered 9×13 pan. Cool 20 minutes. Cut and serve.
The one thing I always add that’s not on the box: a quarter teaspoon of vanilla extract and a pinch of fine sea salt. These two additions cost nothing and make people think you did something special. You kind of did.
2. Brown Butter Rice Crispy Bars
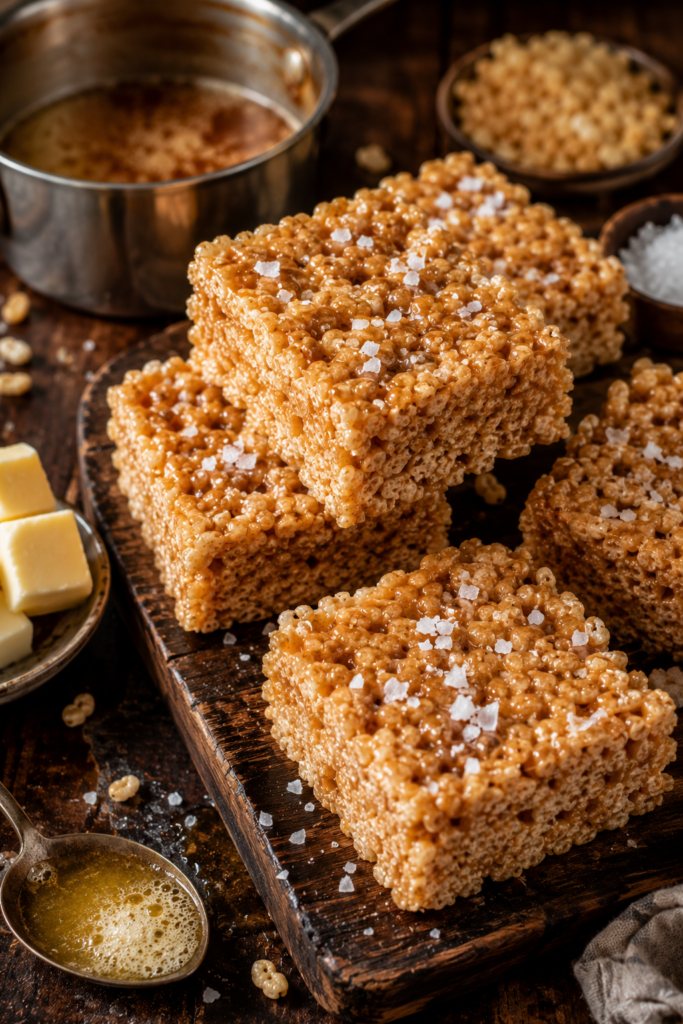
Effort: 15 minutes. Worth every extra second.
Brown your butter first. In a wide saucepan, melt 5 tablespoons unsalted butter over medium heat. Keep stirring. It’ll foam, then clear, then turn golden and smell nutty—like movie popcorn had a sophisticated cousin. That’s the moment. Add marshmallows immediately. The brown butter gives the bars a caramel depth that makes people stop mid-bite and ask what you did differently.
Finish with a generous pinch of flaky sea salt (Maldon is the standard, but any flaky salt works) scattered over the top before the bars set. This recipe is the gateway drug. Once you make it, you start making it as gifts.
3. Chocolate Drizzle Rice Crispy Bars
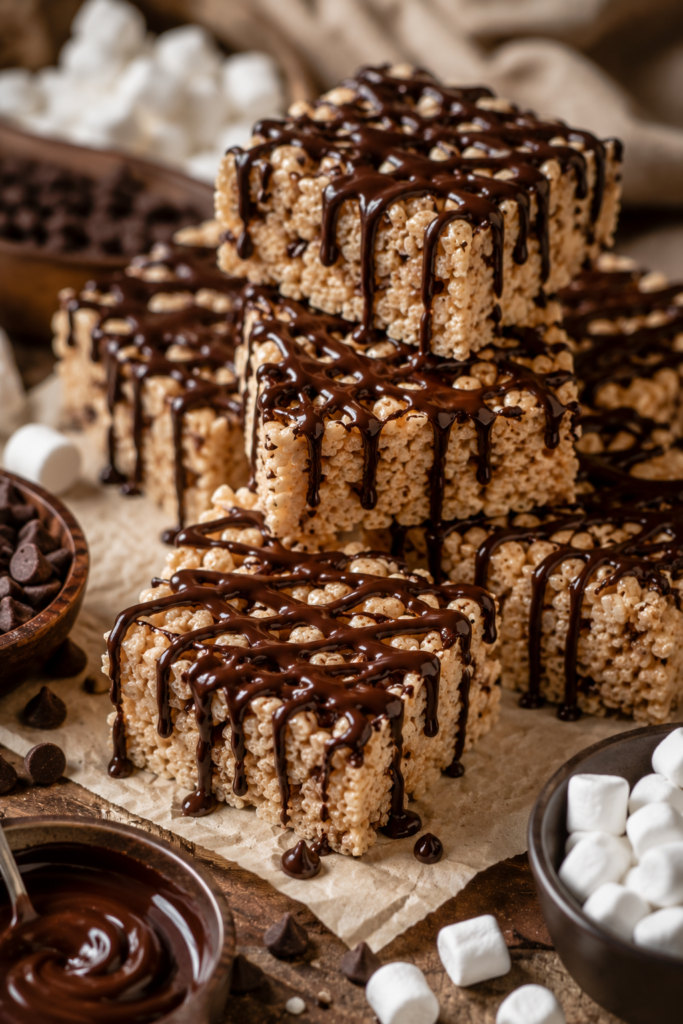
Effort: 20 minutes.
Make the classic base. While it cools in the pan, melt half a cup of good semisweet chocolate chips (Ghirardelli 60% is my go-to) with a teaspoon of coconut oil in 30-second microwave bursts. Drizzle over the top using a spoon or a zip-lock bag with the corner snipped. Let set at room temperature. The chocolate creates a thin shell that shatters slightly when you cut through—a genuinely satisfying texture contrast.
4. Peanut Butter Rice Crispy Bars
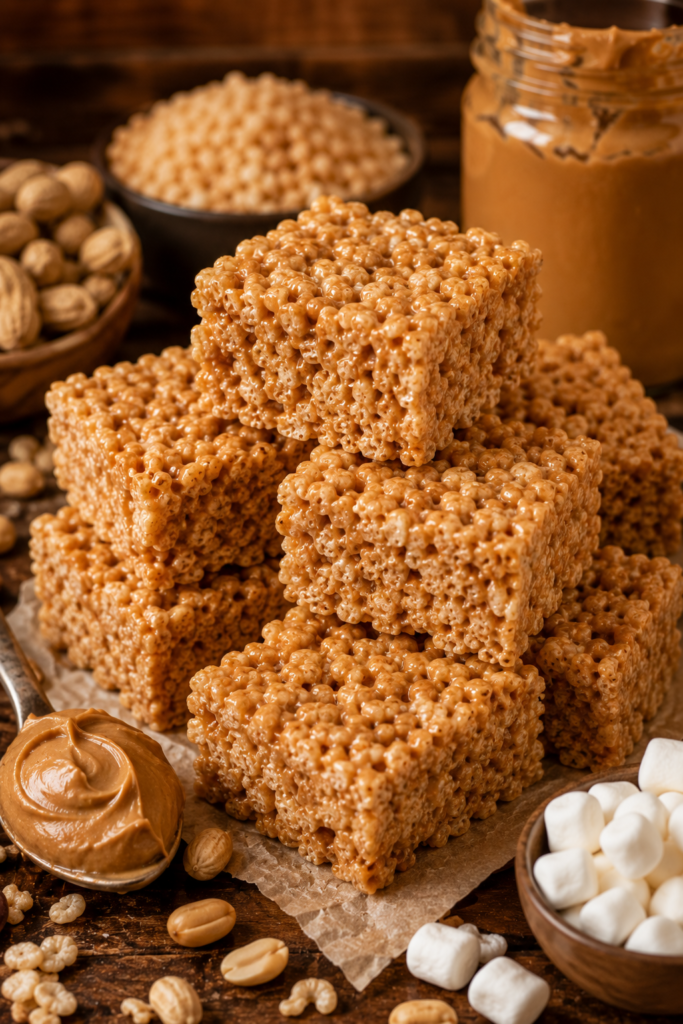
Effort: 15 minutes. Dangerous if you have a jar open nearby.
Add a third cup of creamy peanut butter (Jif or Skippy—natural peanut butter separates and makes the bars oily) to the butter before you add the marshmallows. Stir until combined. The peanut butter adds fat, richness, and that particular salty-sweet balance that makes this version disappear fastest at any gathering. I’ve tested this recipe at four different potlucks. Empty pan every time.
5. S’mores Rice Crispy Bars
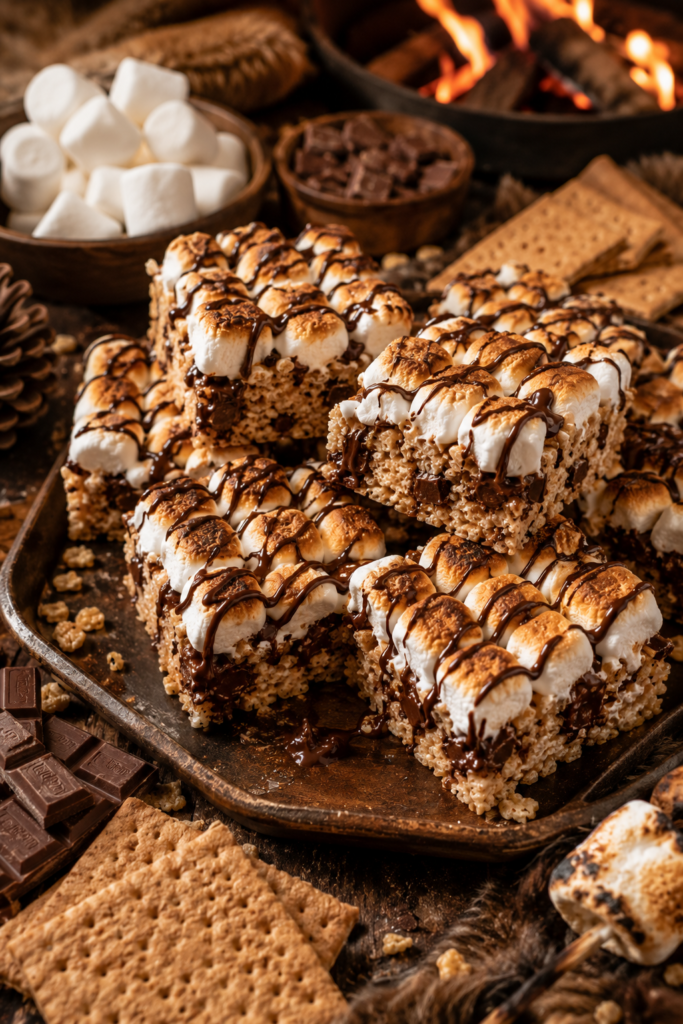
Effort: 25 minutes. Crowd favorite.
Use Golden Grahams cereal as a partial substitute—replace 2 cups of Rice Krispies with 2 cups Golden Grahams and keep 4 cups Rice Krispies. Press into pan. While still warm, press mini marshmallows on top and place under the broiler for 60-90 seconds until toasted. Watch closely. Pull them when golden. Drizzle melted chocolate over everything. This is the recipe that gets asked for by name at every summer cookout.
6. Fruity Pebbles Bars
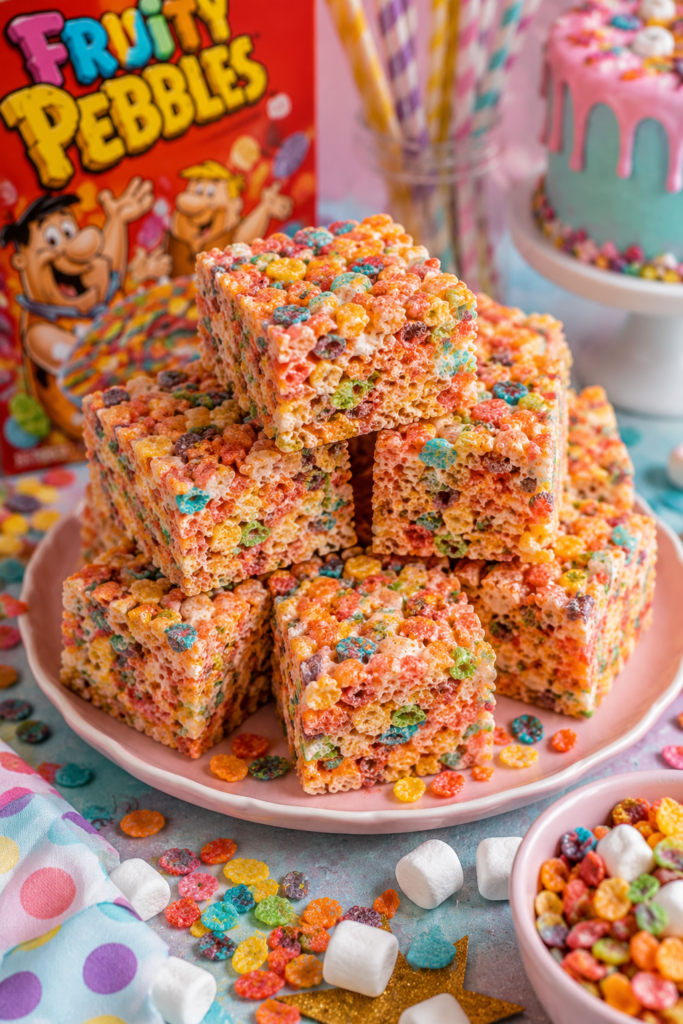
Effort: 10 minutes. Best for kids’ parties.
Swap Rice Krispies entirely for Fruity Pebbles. The bars turn a vivid tie-dye of pink, orange, and yellow. They taste more aggressively sweet—you might reduce marshmallows by 15%—but visually they’re a knockout. Serve these at a kids’ birthday party and you’ll be remembered. Kids also love helping press the cereal into the pan.
7. Cocoa Pebbles Bars
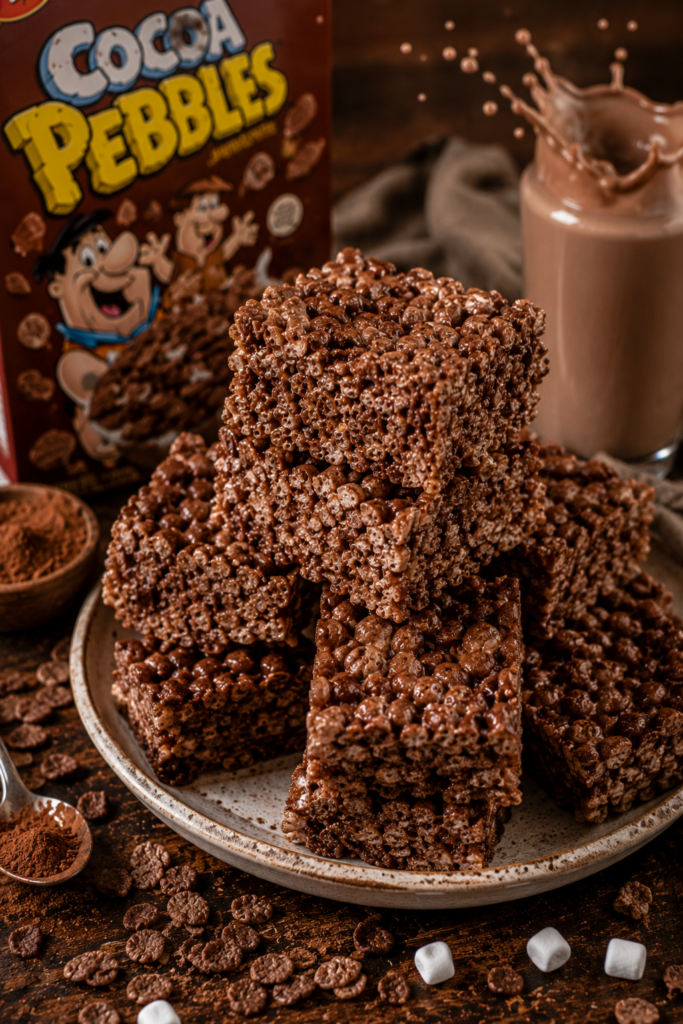
Effort: 10 minutes. Basically dessert for breakfast.
Same swap, this time with Cocoa Pebbles. The result tastes like a chocolate crispy bar without adding any chocolate at all. The cereal carries all the flavor. Good for packing in lunch boxes because they hold together well and don’t require refrigeration.
8. Nutella Swirl Rice Crispy Bars
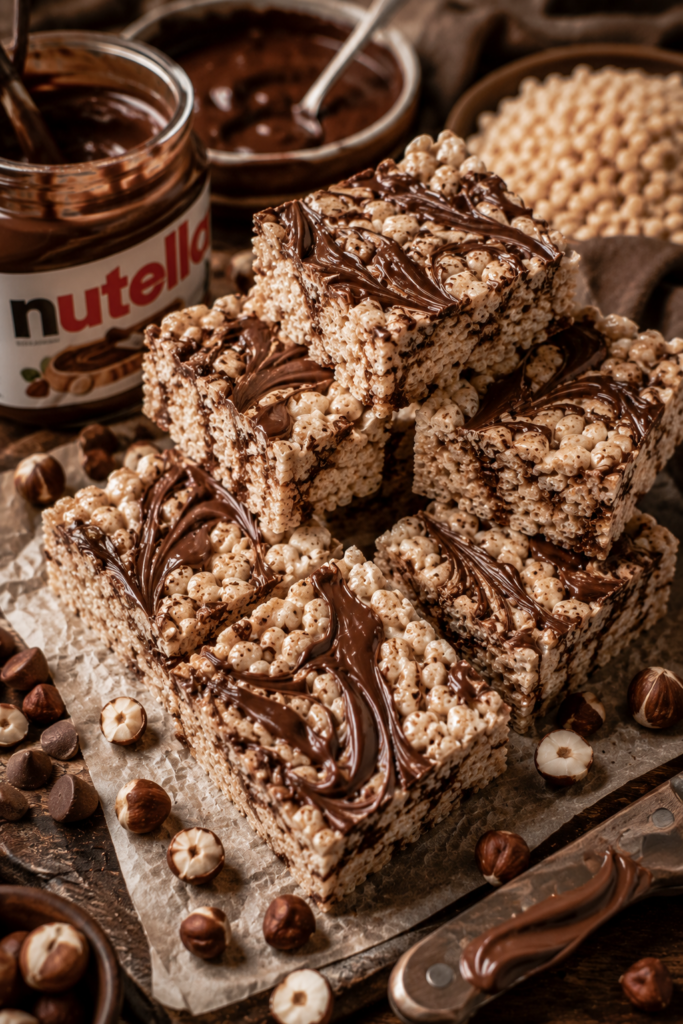
Effort: 20 minutes.
Make the classic base and press it into the pan. Immediately drop spoonfuls of Nutella (about 4 tablespoons total) across the surface and use a toothpick or knife tip to swirl it into the top layer. The Nutella won’t fully incorporate—it stays in streaks, which is exactly right. Every bite is slightly different. This recipe photographs beautifully, which matters if you’re making them for a bake sale table.
9. Oreo Rice Crispy Bars
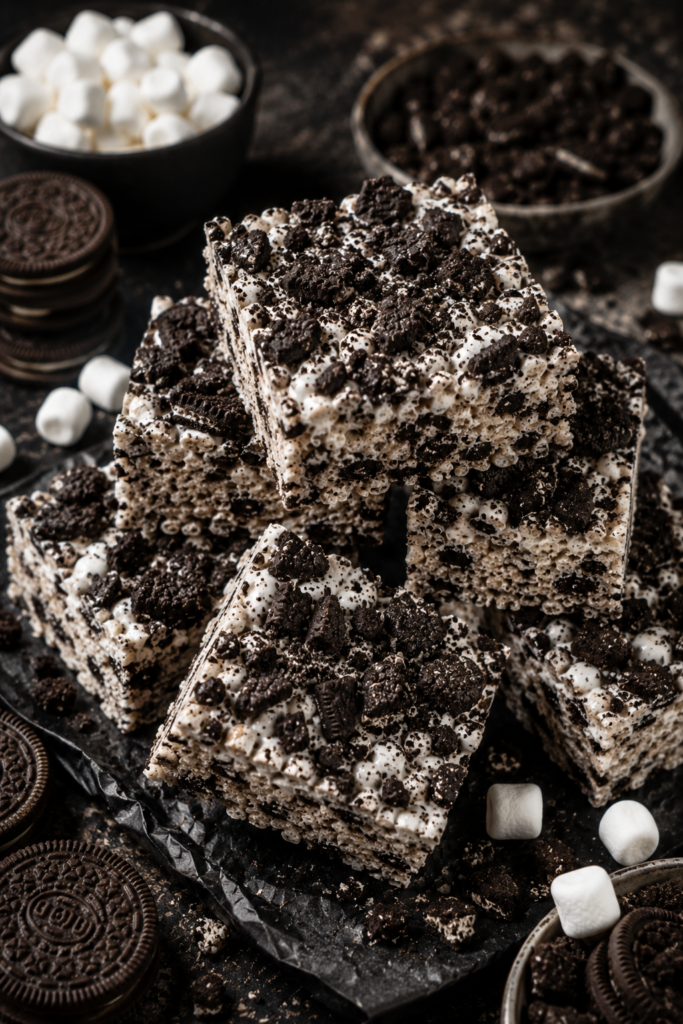
Effort: 15 minutes.
Roughly crush 15 Oreo cookies (twist off the tops, set aside the cream sides, and crush the chocolate wafers). Fold the crushed wafers into the cereal mixture as you combine. Press into pan. Then use the cream sides—yes, the ones you set aside—and press them gently across the top. It sounds odd. The result is cookies-and-cream in bar form and it works completely.
10. Sprinkle Funfetti Bars
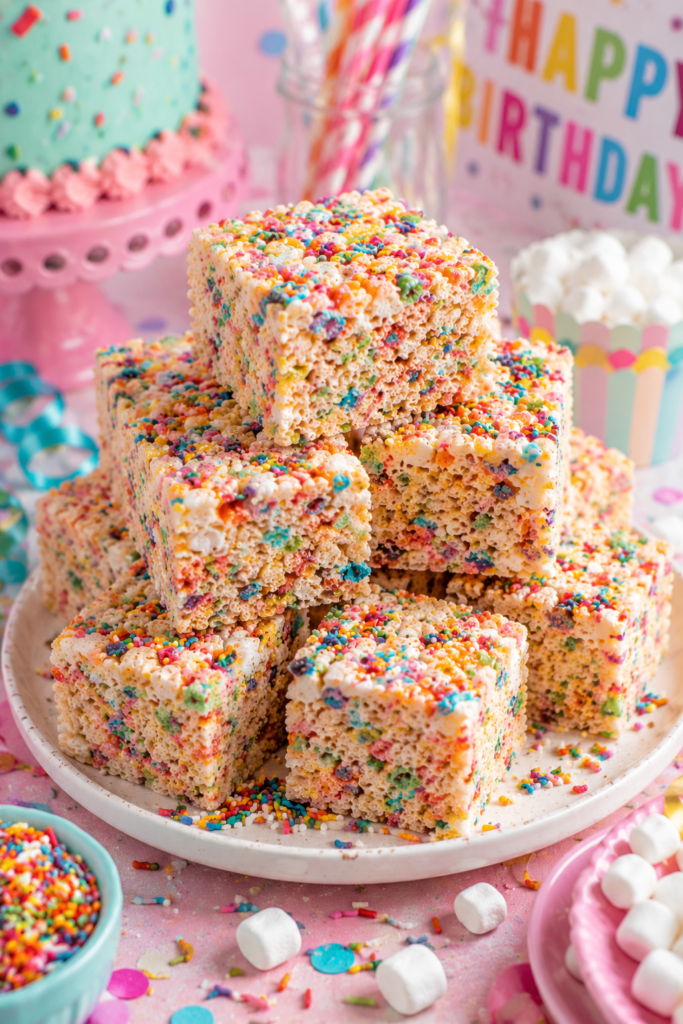
Effort: 10 minutes. Essential for celebrations.
Fold half a cup of rainbow sprinkles into the cereal mixture right before pressing into the pan. The sprinkles bleed slightly into the marshmallow base, creating a confetti effect. Add another tablespoon scattered on top. A teaspoon of almond extract in the butter stage gives these a bakery birthday cake flavor that makes the whole thing feel intentional rather than accidental.
11. Salted Caramel Rice Crispy Bars
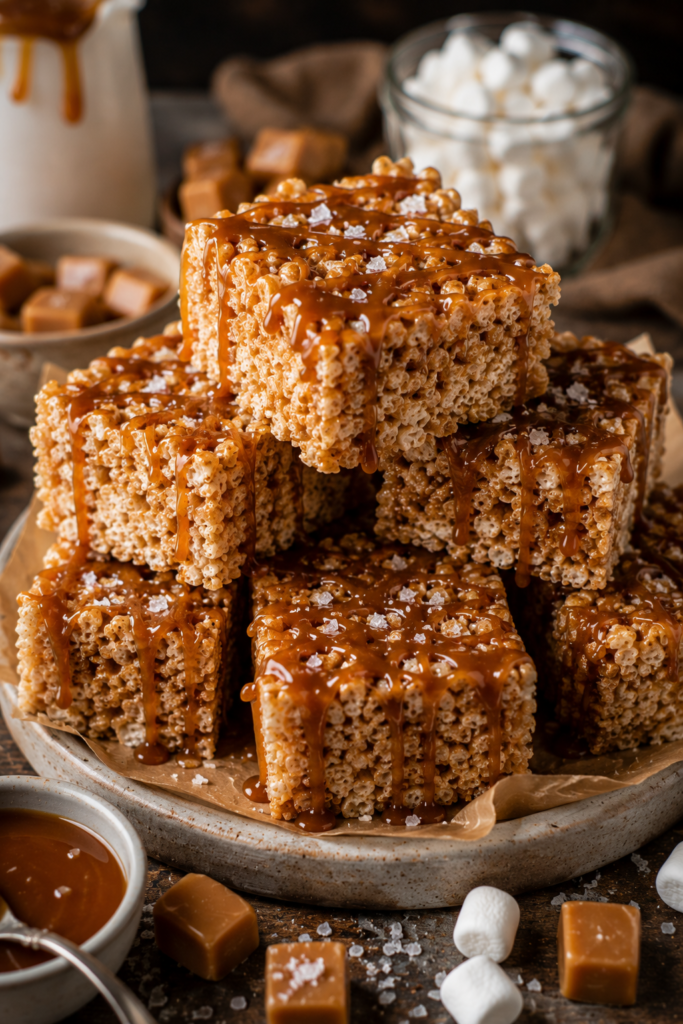
Effort: 30 minutes. Two-layer situation.
Make the classic base and press into pan. Let it cool completely. Then make a quick caramel: melt half a cup of store-bought caramel bits (Kraft makes them) with 2 tablespoons heavy cream in a small saucepan. Pour over the cooled bars in a thin layer. Sprinkle flaky salt generously. Refrigerate 20 minutes to set the caramel. Cut with a sharp knife dipped in warm water to get clean slices. These keep well in the fridge for four days, which is longer than most versions.
12. Lemon Rice Crispy Bars
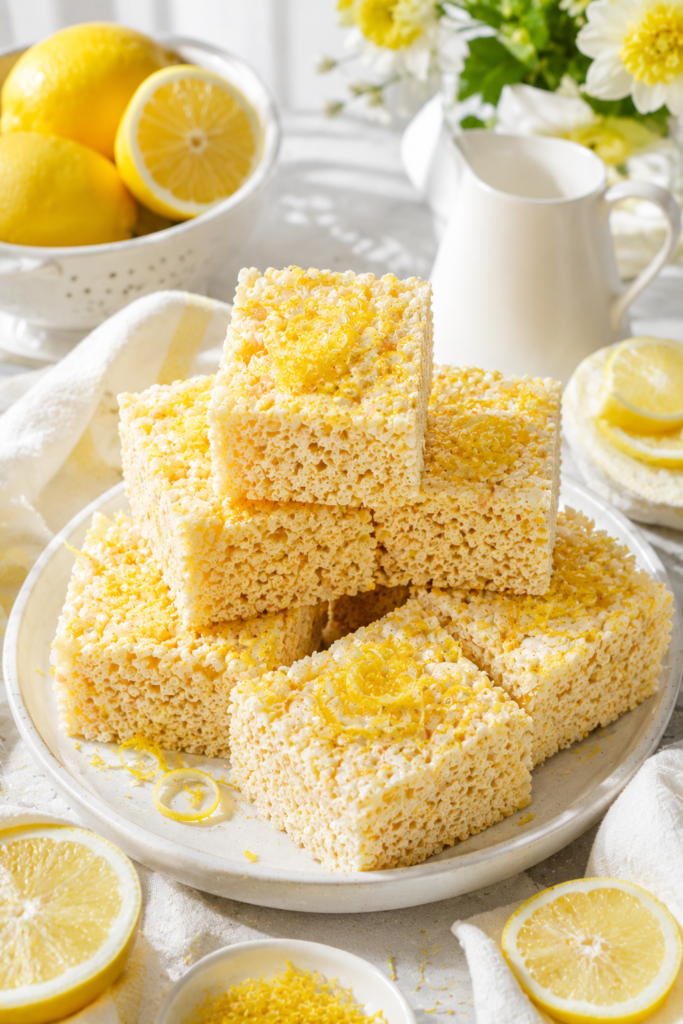
Effort: 15 minutes. Surprisingly refreshing.
Add the zest of one large lemon to the butter before adding marshmallows. Also add a teaspoon of fresh lemon juice to the mixture off heat. The citrus brightens everything. These bars feel lighter than the standard version—they’re good in spring and summer when chocolate feels too heavy. Garnish with a little more zest on top for color.
13. Cinnamon Roll Bars
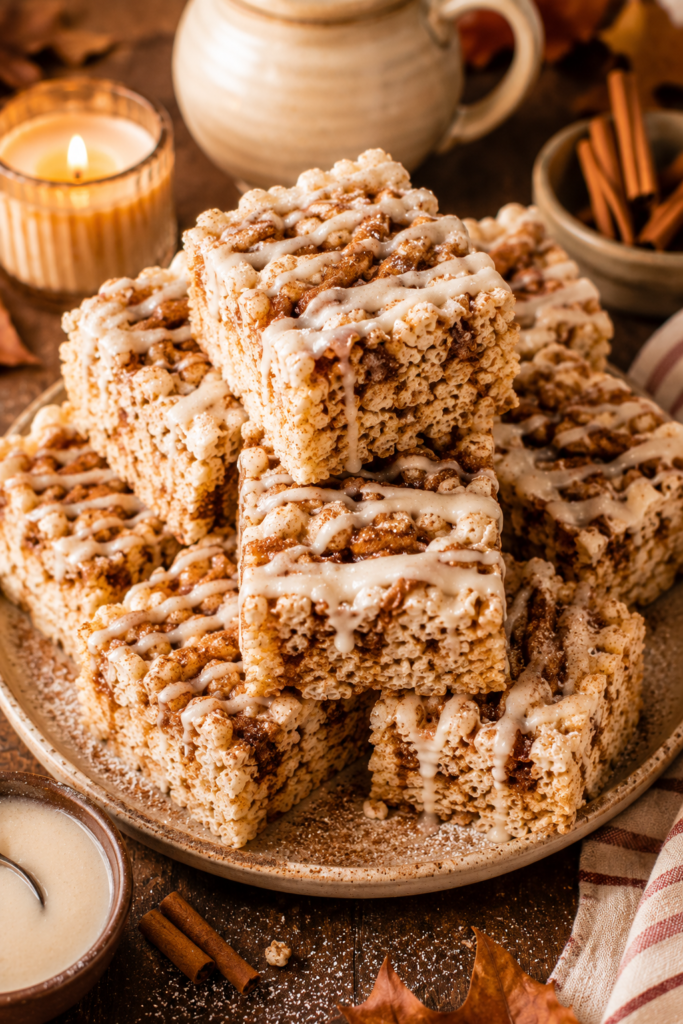
Effort: 20 minutes.
Use Cinnamon Toast Crunch instead of Rice Krispies. Add a teaspoon of ground cinnamon and a splash of vanilla to the butter-marshmallow mix. Press into pan and drizzle a simple icing (powdered sugar plus milk, about 2 tablespoons each) across the top while still slightly warm. These smell like a Cinnabon and take ten minutes. It feels unreasonable that they’re this easy.
14. Peanut Butter and Jelly Bars
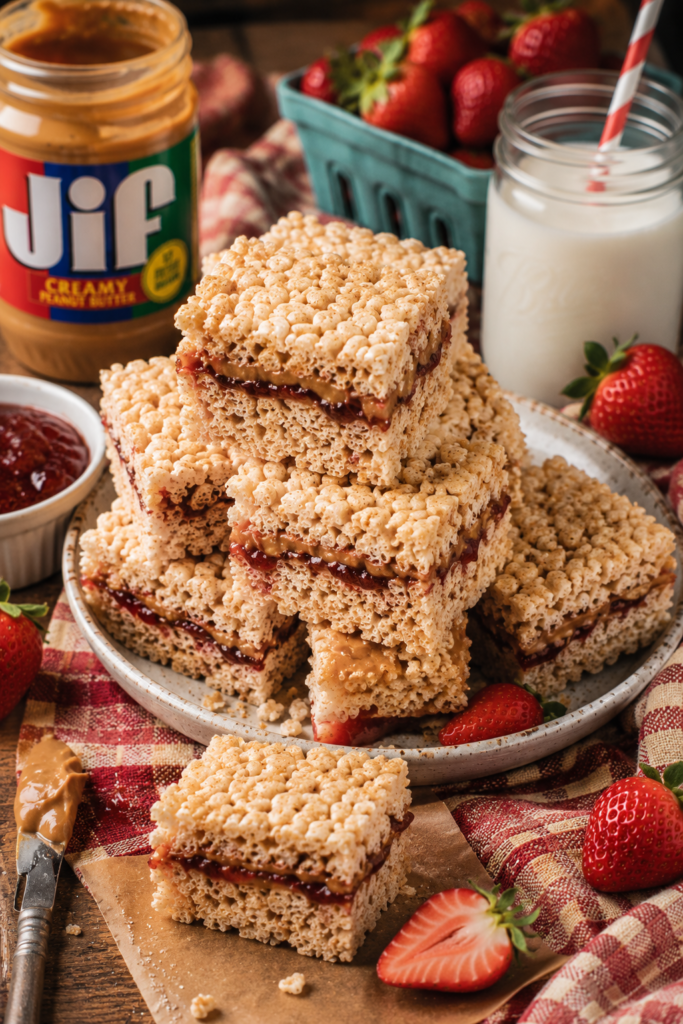
Effort: 25 minutes. Nostalgic in the best way.
Make peanut butter bars (recipe 4). Press half the mixture into the pan. Spread 3 tablespoons of strawberry or grape jam across the surface. Top with remaining mixture and press gently. The jam stays in a center layer and makes each bar a cross-section of something that tastes like childhood. Best served at room temperature.
15. Dark Chocolate Sea Salt Bars
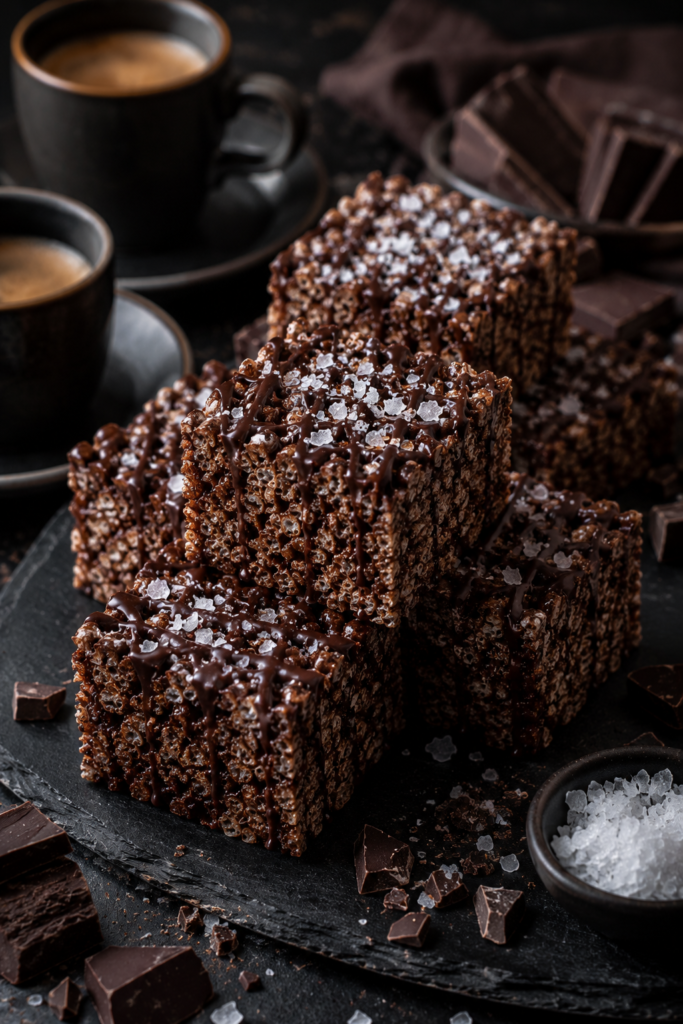
Effort: 20 minutes. Adult version.
Brown the butter (recipe 2). Melt marshmallows as usual. Before adding cereal, stir in half a cup of dark chocolate chips (Ghirardelli 72% works well here) right into the hot marshmallow mixture. They’ll partially melt, creating dark streaks. Fold in cereal. Top with flaky salt. These are noticeably less sweet than the classic and more complex—the kind of bar that works on a cheese board or alongside coffee.
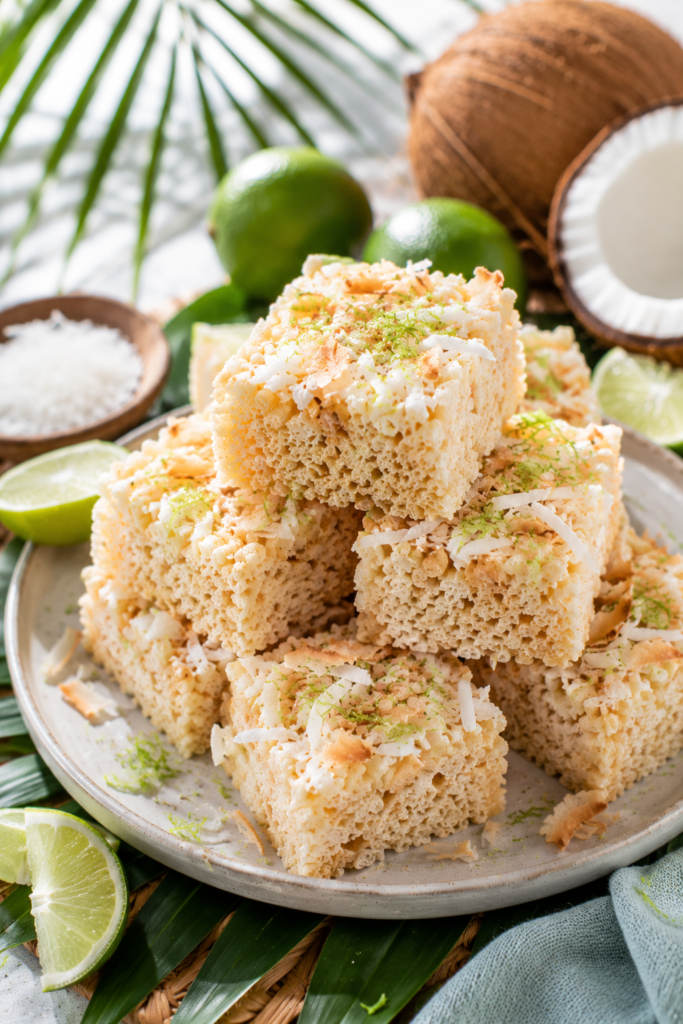
16. Coconut Lime Bars
Effort: 20 minutes.
Toast half a cup of shredded coconut in a dry pan until golden (watch it closely—three minutes maximum). Add lime zest and a tablespoon of lime juice to the butter stage. Fold toasted coconut into the cereal mixture. Press and top with a little extra toasted coconut. These have a tropical quality that makes them perfect for summer gatherings. The toasted coconut adds a texture layer that standard bars lack.
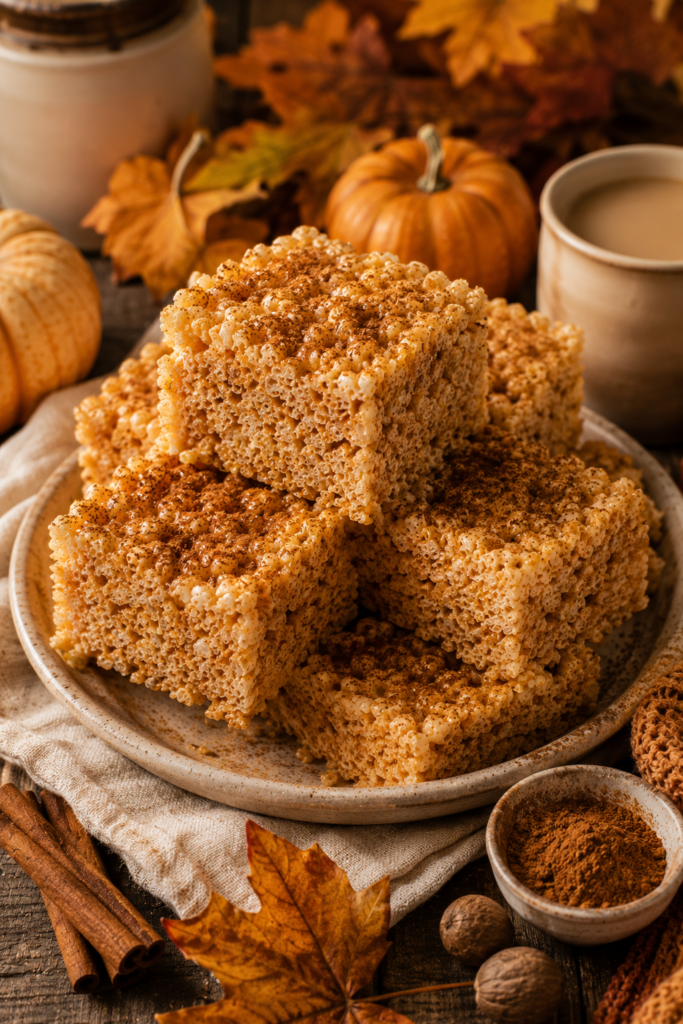
17. Pumpkin Spice Bars
Effort: 20 minutes. Seasonal, but genuinely good.
Add 2 tablespoons of canned pumpkin puree (not pumpkin pie filling) and a teaspoon of pumpkin pie spice to the melted butter before adding marshmallows. The pumpkin adds color (a warm orange tint), moisture, and a subtle earthiness that balances the sweetness. These are worth making in September and October. The spice blend—cinnamon, ginger, nutmeg, clove—plays very well with toasted marshmallow.
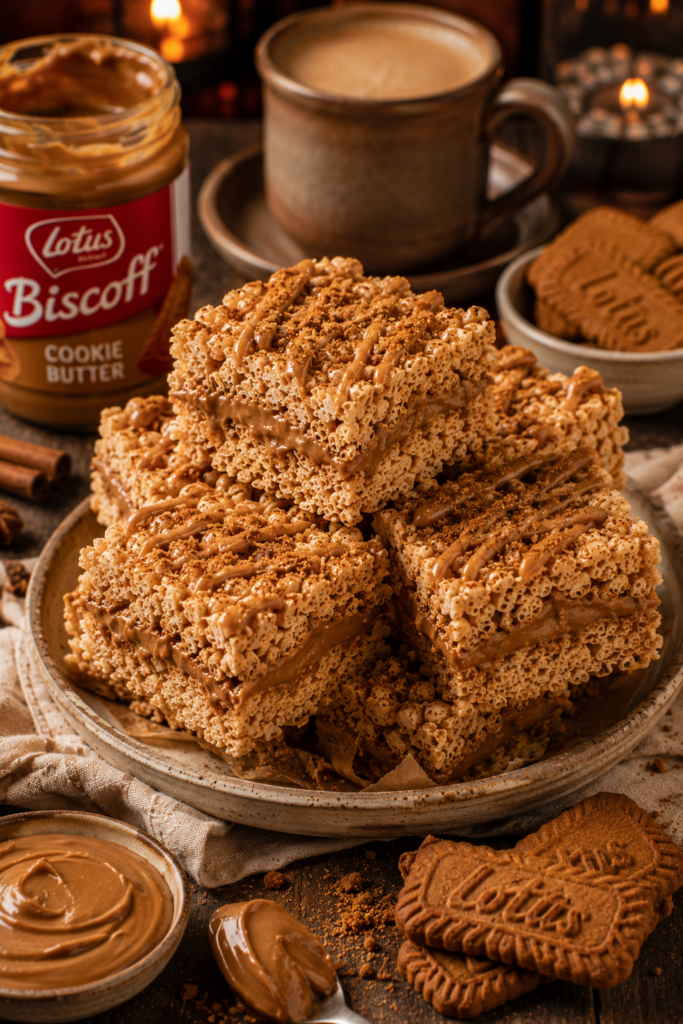
18. Cookie Butter Bars
Effort: 15 minutes. For Trader Joe’s devotees.
Swap peanut butter for Trader Joe’s Speculoos Cookie Butter (or Biscoff spread, widely available). Use a third cup. The cookie butter adds warm spice and a graham-cracker quality that’s hard to describe and easy to love. These are the bars people ask about most when you bring them to an office. The flavor is familiar but you can’t quite place it, which makes them interesting.
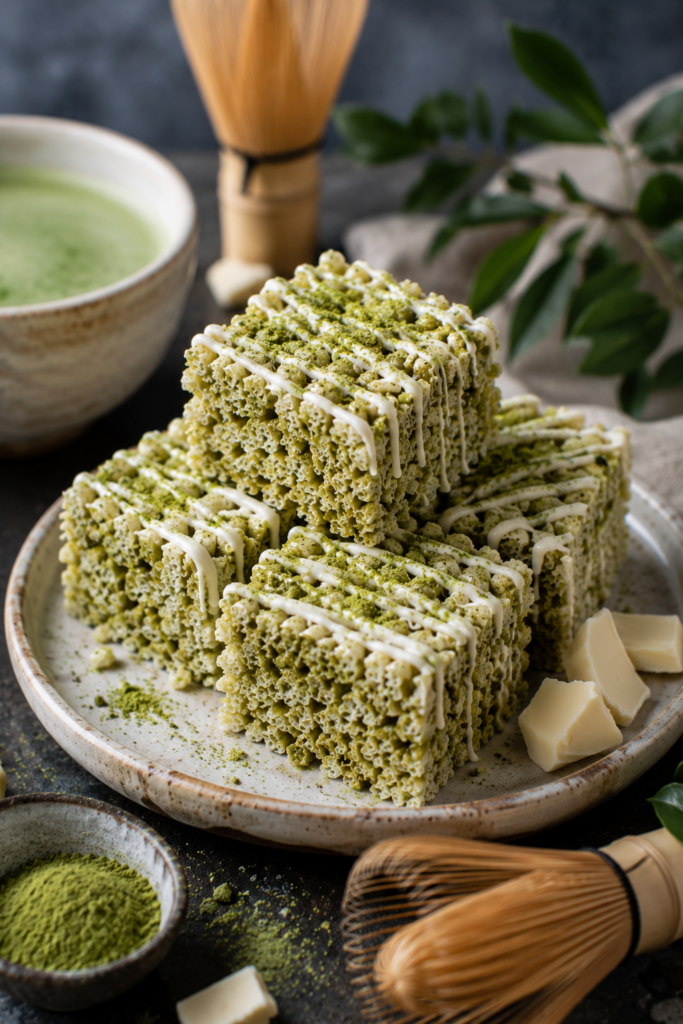
19. Matcha White Chocolate Bars
Effort: 25 minutes. The sophisticated option.
Whisk 2 teaspoons of culinary-grade matcha powder (Midori Spring or similar, around $12-$18 for a tin that lasts months) into the melted butter before adding marshmallows. The matcha turns the bars a pale sage green. Drizzle melted white chocolate over the top. The slight bitterness of the matcha against the sweetness of the white chocolate and marshmallow creates genuine balance. These look striking on a dessert table.
20. Everything Bar (The Kitchen Sink)
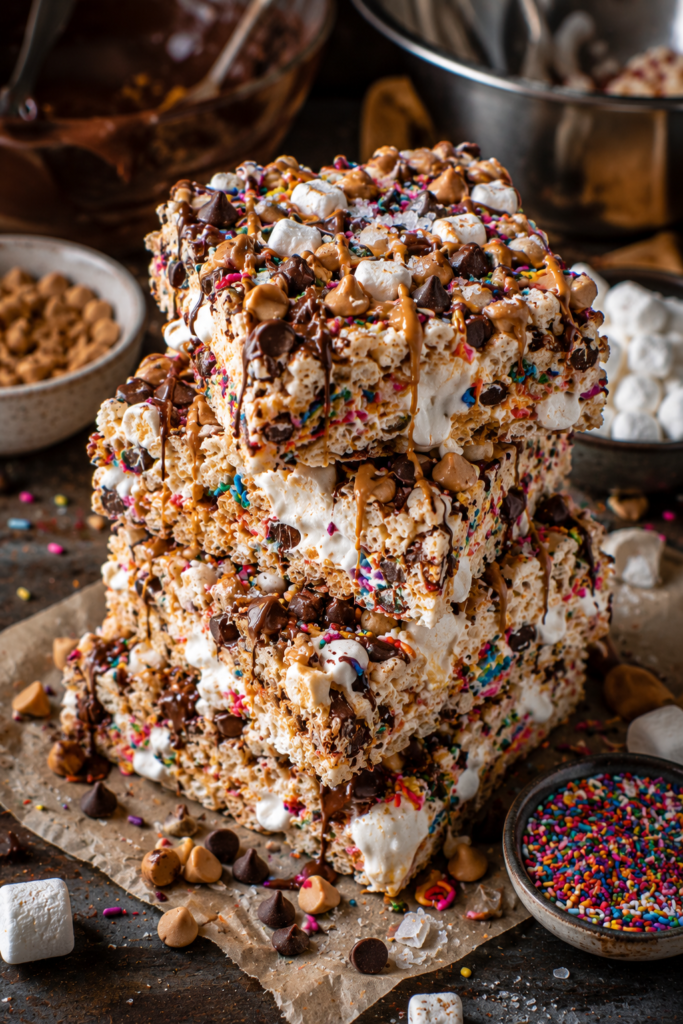
Effort: 25 minutes. This is the one.
Brown the butter. Add peanut butter (2 tablespoons). Melt marshmallows. Off heat, stir in a quarter cup of chocolate chips, a quarter cup of peanut butter chips, and a tablespoon of rainbow sprinkles. Fold in Rice Krispies. Press into pan. Top with mini marshmallows, another scatter of chocolate chips, flaky salt, and whatever else is open on your counter. This isn’t a recipe. It’s a philosophy. Every single batch is slightly different and reliably excellent.
How Do You Keep Rice Crispy Bars Soft and Chewy?
The key to chewy bars that stay soft for 3-4 days: more butter, less heat, and proper storage.
Store bars in an airtight container at room temperature with a piece of bread tucked in. The bread releases moisture that keeps bars from hardening. Replace the bread slice after 24 hours. This trick works for cookies too, and it genuinely extends chewiness by a full day or two. Don’t refrigerate them unless they have a dairy topping—cold makes bars hard and dense.
Why Did My Rice Crispy Bars Turn Out Hard?
Three culprits, almost every time.
First: too much heat. If you melt marshmallows on high or let them cook after they’re smooth, the sugar compounds change and the bars harden as they cool. Second: not enough fat. If you skimped on butter, you lost the coating that keeps everything pliable. Third: pressing too hard. Compressing the mixture tightly squeezes out air pockets that contribute to that light, crispy chew.
The fix for next time is simple: lower heat, more butter, and a gentle hand with the pressing.
Can You Make Rice Crispy Bars Without Butter?
Technically yes—coconut oil works as a substitute at a 1:1 ratio and gives bars a very light coconut flavor. Vegan butter (Earth Balance works reasonably well) also produces acceptable results. But if you’re asking whether the bars are as good without real butter, the honest answer is no. Butter’s milk solids contribute flavor complexity and the fat keeps bars softer longer. If dairy is an issue, coconut oil is the best workaround.
Frequently Asked Questions
How long do rice crispy bars last? Three to four days at room temperature in an airtight container. Add a bread slice to maintain softness. They don’t spoil quickly, but texture degrades after day four.
Can you freeze rice crispy bars? Yes. Wrap individual bars in plastic wrap, then place in a zip-lock bag. Freeze up to six weeks. Thaw at room temperature for 30 minutes. Texture holds reasonably well, though they lose a little crispness.
What’s the best marshmallow to use? Mini marshmallows melt faster and more evenly than large ones. Jet-Puffed is reliable. Store-brand marshmallows are fine but can be denser and take longer to melt.
Can you make these without a stove? Yes—microwave method works. Melt butter in a large microwave-safe bowl (90 seconds). Add marshmallows and microwave in 30-second bursts, stirring between each, until smooth. Fold in cereal and proceed as usual. Results are slightly less rich but perfectly acceptable.
Why do my bars stick to the pan? Not enough butter on the pan before pressing. Use butter or cooking spray on both the pan and your hands. Parchment paper lining is the most foolproof approach—lift the whole slab out before cutting.
Can I make these gluten-free? Rice Krispies contain malt flavoring derived from barley, which means they’re not gluten-free. Barbara’s Puffins (Rice variety) and Nature’s Path corn puffs are certified gluten-free alternatives that work well in this recipe.
How do you cut rice crispy bars cleanly? Use a sharp chef’s knife dipped in warm water and wiped dry between cuts. Butter the knife for extra-sticky versions with chocolate or caramel. Scoring the top lightly before fully cutting helps guide the blade.
Final Thoughts
Rice crispy bar are one of those rare foods that don’t require talent, expensive equipment, or three hours of your Saturday. They require marshmallows, cereal, butter, and about fifteen minutes of attention. That simplicity is the point. But simplicity doesn’t mean boring.
The 20 recipes here range from a five-minute classic to a layered caramel situation that takes half an hour. Every one of them is worth making at least once. My personal ranking, for what it’s worth: brown butter sea salt at the top, followed by cookie butter bars, followed by the kitchen sink version on days when nothing needs to make sense.
Start with the classic and move outward from there. That’s how you build real intuition with a recipe—understanding the base before you start changing it. Once you can make the original in your sleep, the rest of these are just riffs on something you already know.